(Blog Entry by Bob)
More figures to Paint
Finding new and interesting figures for you train layout can be tricky.
There are always the famous "10 figures for $10", but you can only repaint them so many different ways.
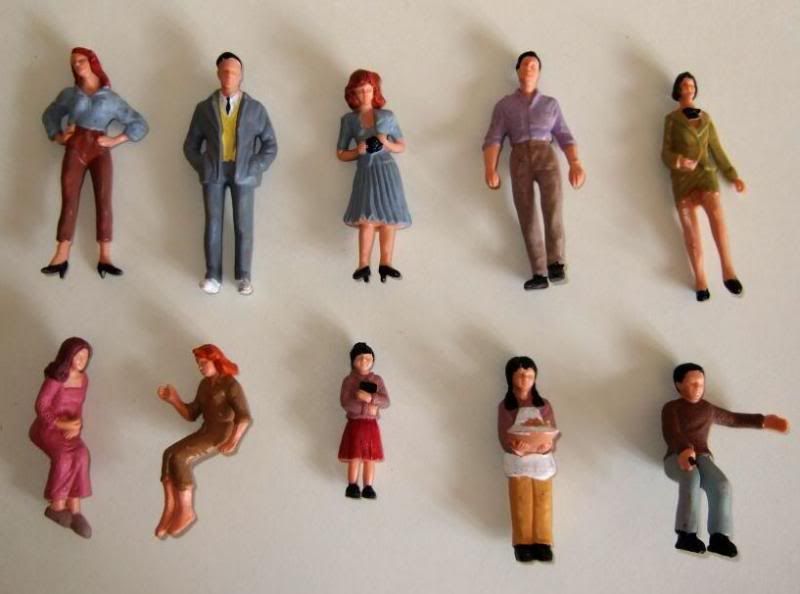
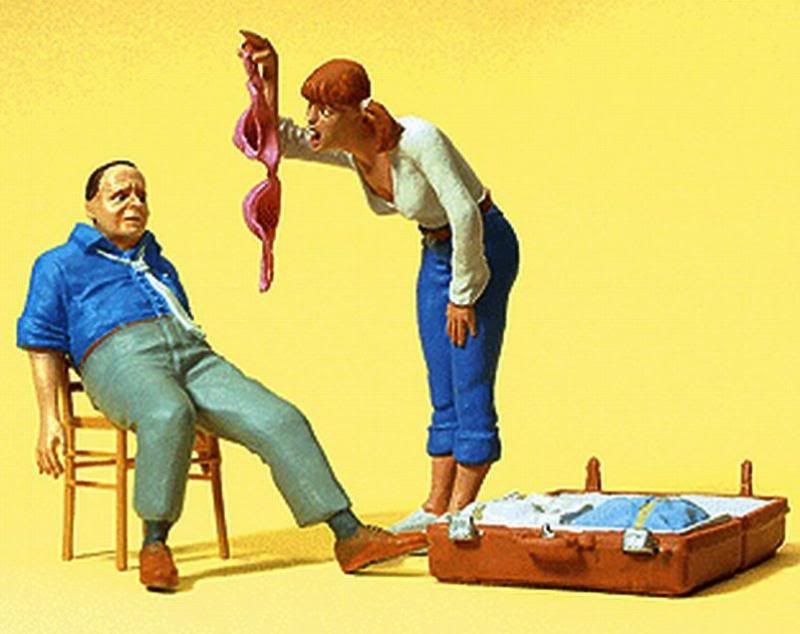
Preiser figures always look amazing and come in great poses but can cost approx. $20 per person or over up to $100 a set. To try to create a whole village of people could set you back several hundred dollars.
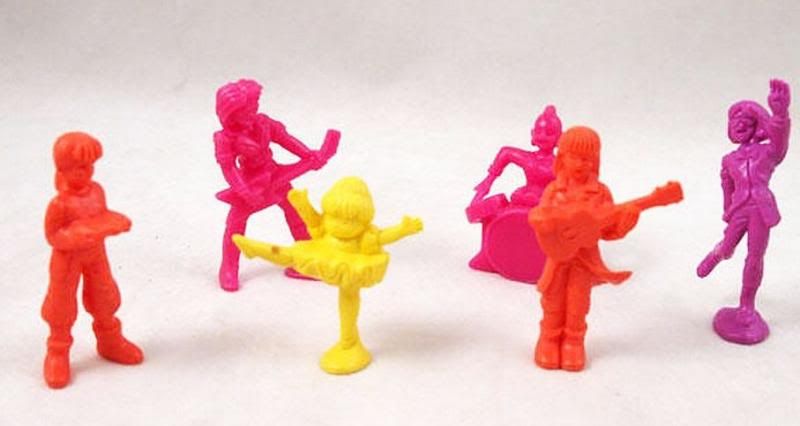
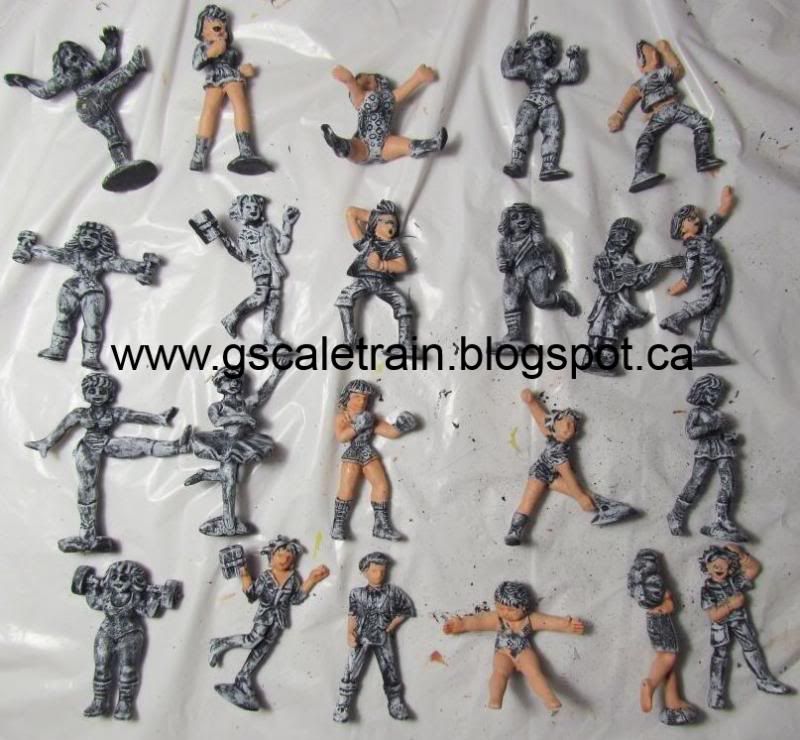
On one of our frequent trips to Value Village (local thrift store chain) I came across a bag of brightly fluorescent coloured girl toys. Doing an internet search, I discovered they were called Mattel C.U.T.I.E. figures. They were the right size for G-Scale and I was lucky to have 40 different figures in the bag for $4
If you have read our blog on "Sgt Pepper's Lonely Hearts Club Band" I followed the same steps by first painting the bright colour figures flat black.
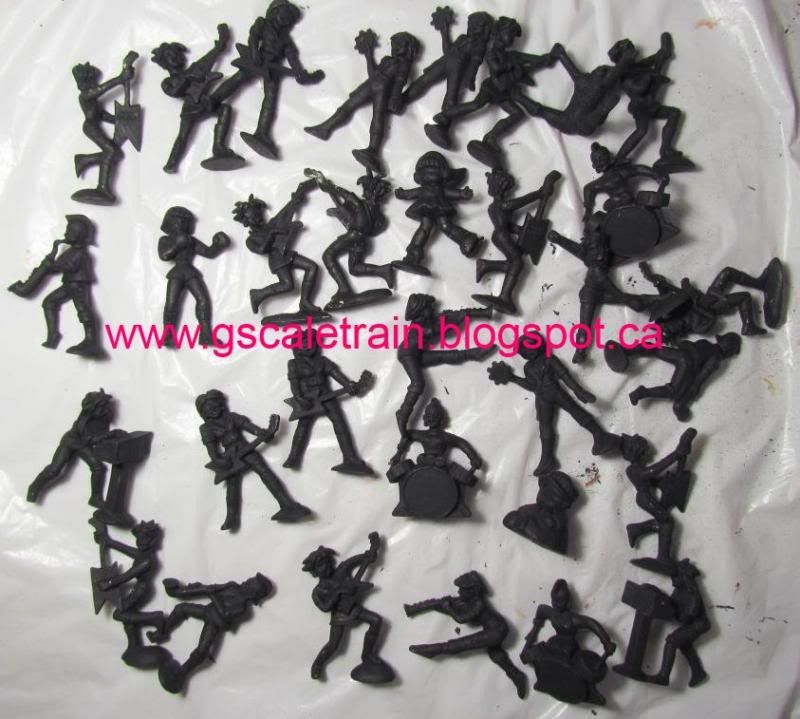
I then dry-brushed the ridges white to bring out the high-lights. I found high contrast on the hands & face made my figures look too old (when adding straight flesh colour).
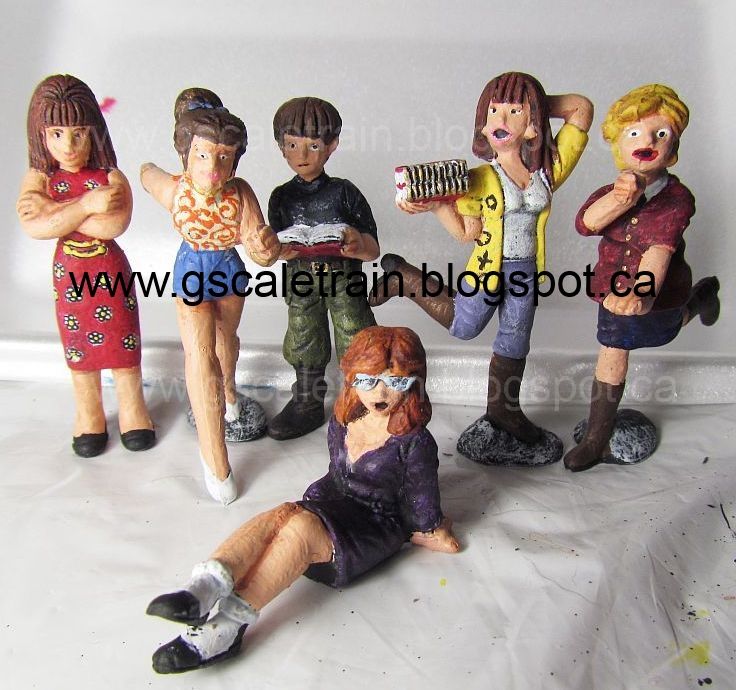
I tried to glaze the paint for the hair and clothes to let the base coat shades and highlights shine though.
With the casting of these figures I was able to bring out patterns in the clothes like buttons and flowers on the dresses. I still have a lot more figure to paint only being able to find time to paint two a week. So look for more teenage girls having fun in upcoming blogs.
Monday, July 29, 2013
Wednesday, July 17, 2013
Rumble Box / Flat Spot Boxcar modification - 07-17-13
Blog Entry by Bob
Everyone knows there is a big difference between a locomotive that has a sound to one that has the default electric whirr noise. Watching the boxcars bang-bang-bang their way on the tracks near my house I wondered, 'what can I do to make my boxcars sound better?'
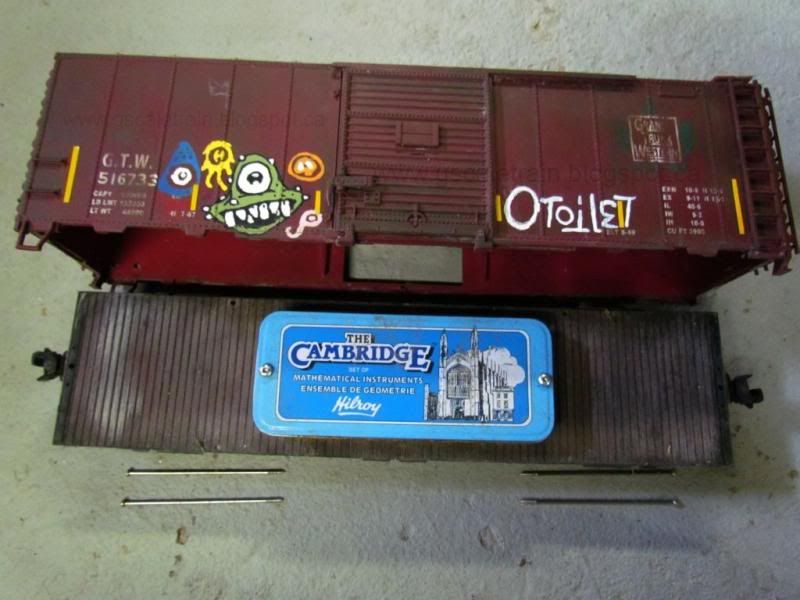
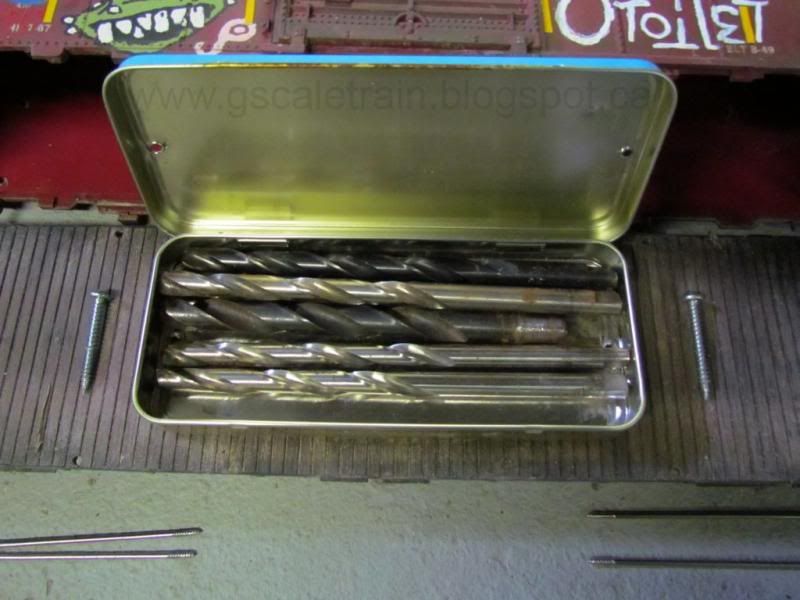
Finding metal math-kits at my local Walmart for a couple of bucks, I discarded all the inners. Visiting yard-sales that only seem to sell broken, rusted tools I picked up a bunch of drill bits. Filling the math-kit with the drill bits I screwed it to the running board.
This makes the boxcar sound great especially if you hit a bump or there is a gap in your rail joints. But I wanted to take it one step further...
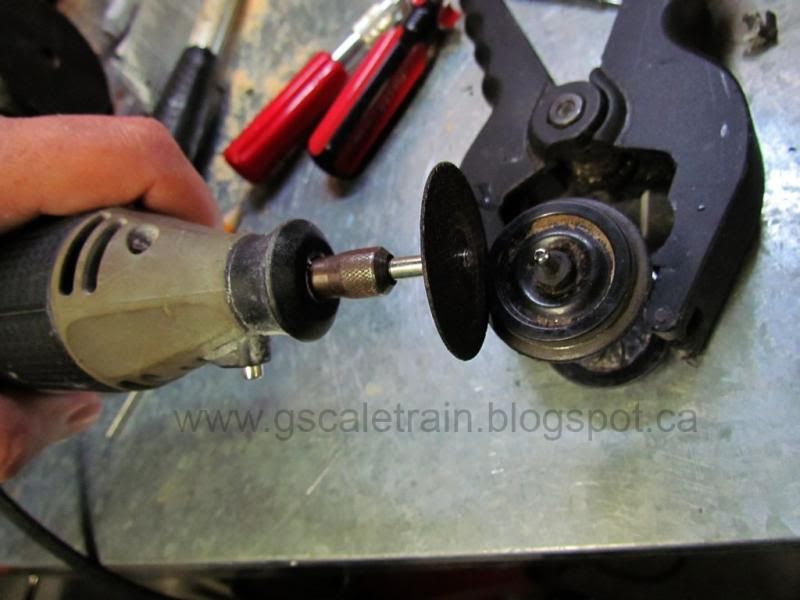
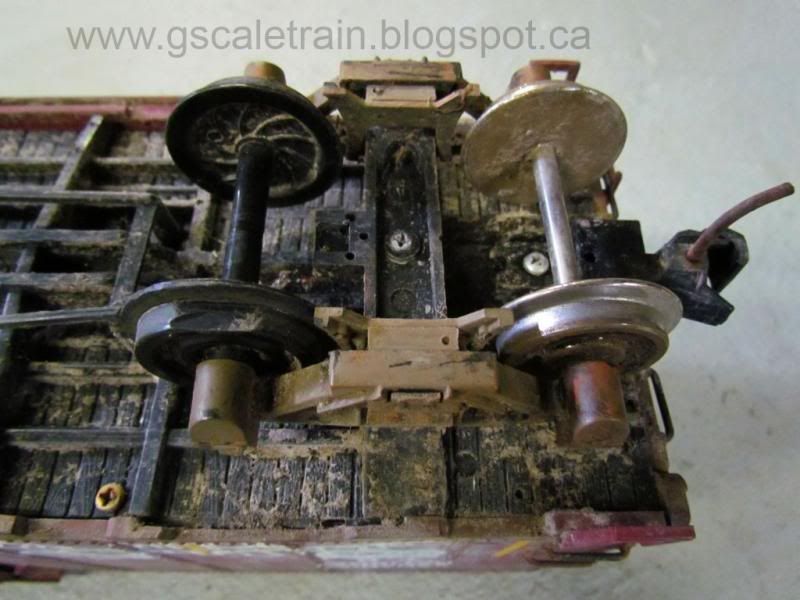
On all my railcars I have replaced the default plastic wheels with metal ones leaving me with a box of useless plastic wheels... or so I thought. I used my trusty dremel tool with a grinder wheel and created a flat spot on one side of the axle. Replaced only the second axle on the boxcar with the flat-spot axle
I've attached pictures an a video of the boxcars running on the track. Please take my idea and use it, it makes all the hours, alone schemeing in my workshop seem publically acceptable.
Labels:
g-scale,
g-scale garden train,
train,
video
Subscribe to:
Posts (Atom)