Saturday, October 26, 2013

G-Scale Garden Railway Train Blog of Horror - Happy Halloween 2013 10-26-13

(Blog Entry by Bob)

Blog of Horror!!! Bwwwwwwwwwwahahahahahah

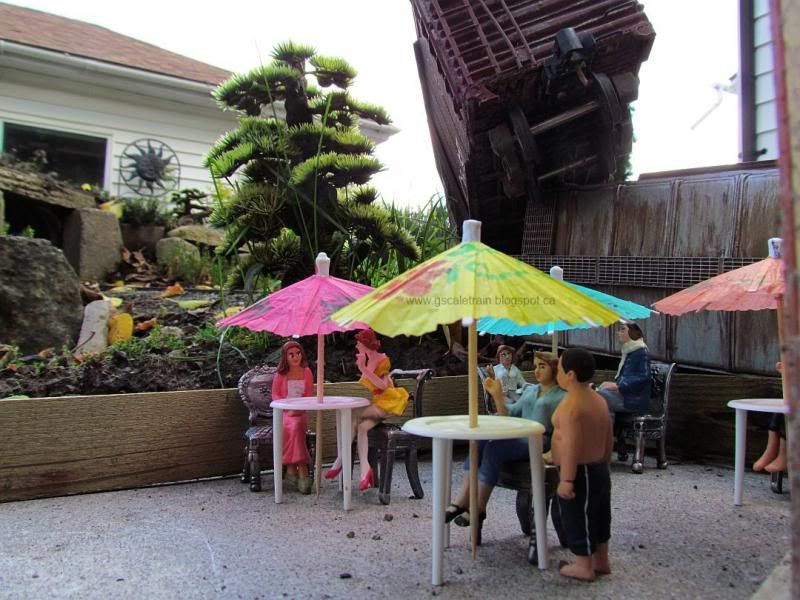
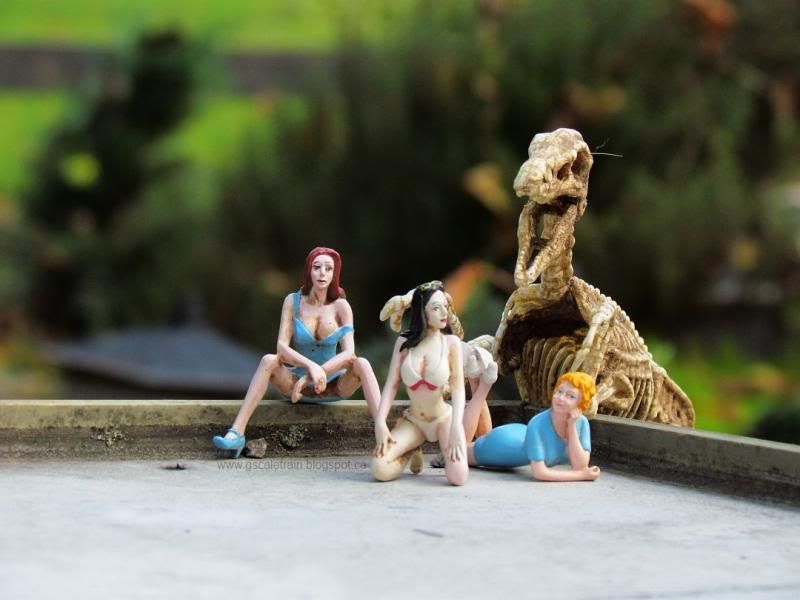
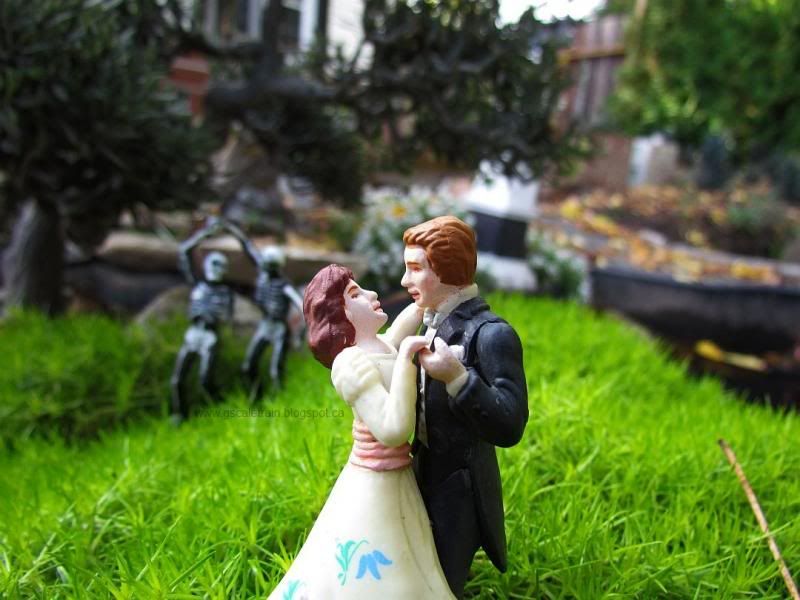
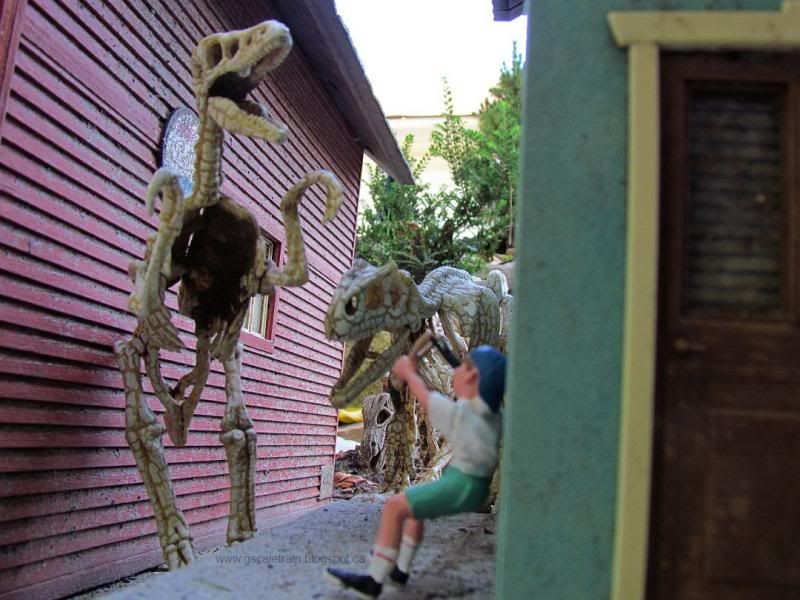
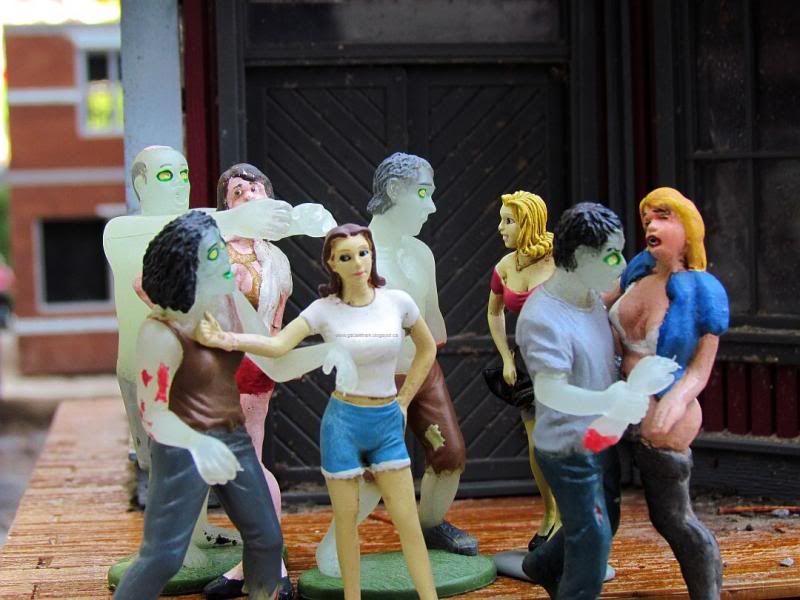
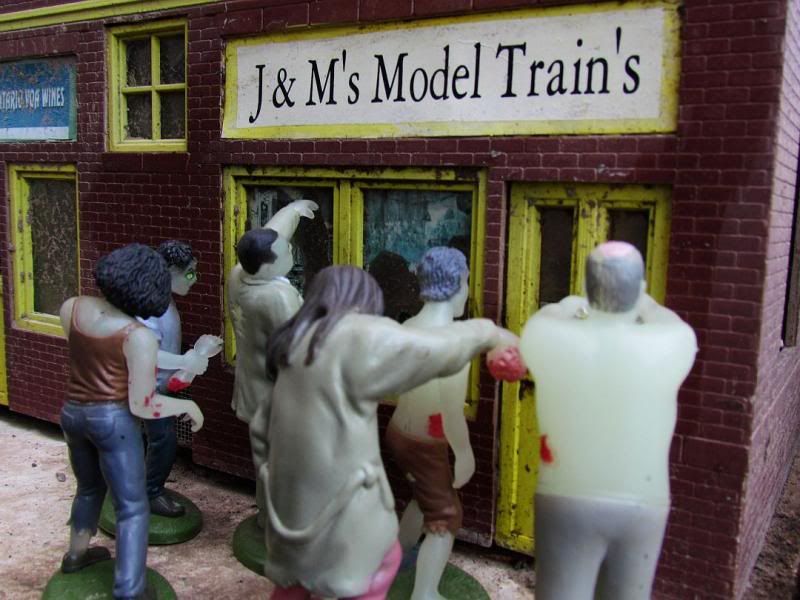
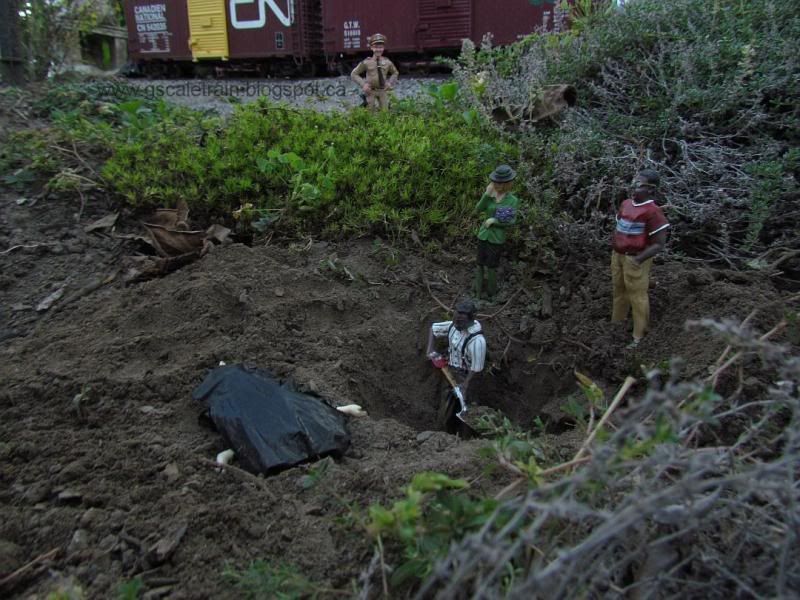
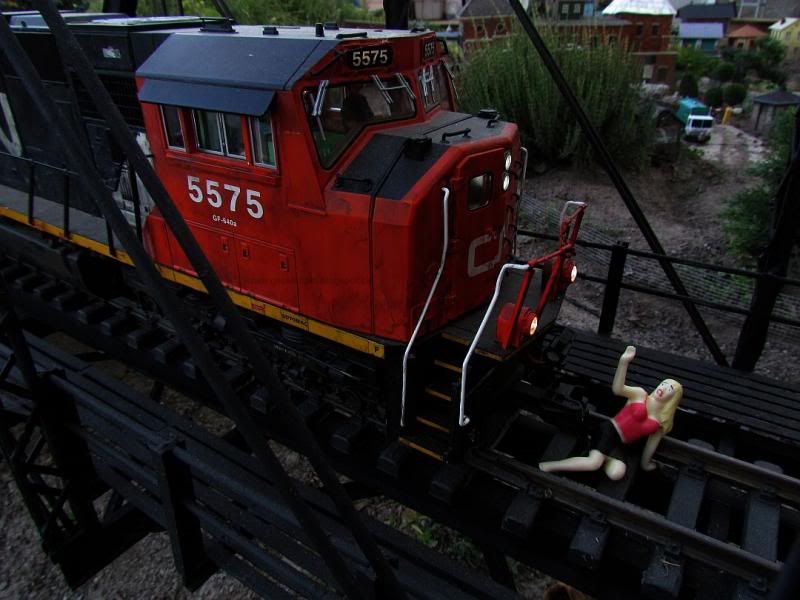
With all the leaves falling down and the continuous stream of rainy days we did not think we would be able to make it outside to take some pictures for Halloween.      BUT GUESS AGAIN!  LOL

Wishing you all a
Happy & Safe Halloween
 October 31, 2013!


01-horror photo 01-horror_zpsa6f9474e.jpg

 photo 02-horror_zpsfa4297c9.jpg

03-horror photo 03-horror_zps84fdb0fe.jpg

04-horror photo 04-horror_zps75812848.jpg

 photo 05-horror_zps9f00fff0.jpg

06-horror photo 06-horror_zpsa05653e8.jpg

 photo 07-horror_zpse2fe95c1.jpg

08-horror photo 08-horror_zps41769214.jpg

09-horror photo 09-horror_zps09933016.jpg

Saturday, October 19, 2013

Popsicle Stick Bridge Part 2 - Materials - 10-19-13 G-Scale Garden Train Railway

(Blog Entry by Bob)

Glue is the weakest fastening system used on the bridge and unfortunately the most common. Nothing beats nut and bolts though you rarely have the chance to use them with detailed work.  I love HO track nails and recommend pounding a couple of them in after everything is joined just to make sure. The glue I used is "TiteBond III" which I could only find in a cabinetry store like "Lee Valley Tools"  If you cannot find it, carpentry glue can be used.

 photo 01-glue_zps81c8d8a4.jpg


Even though the glue claims to be waterproof, it simply is not true.  My railway goes from +100 degree heat waves, week long rainstorms and freezing blizzards which forces ALL glues (no matter how good) to eventually fail.  This bridge is more of a "Show Bridge" and should be keep inside during harsh weather.
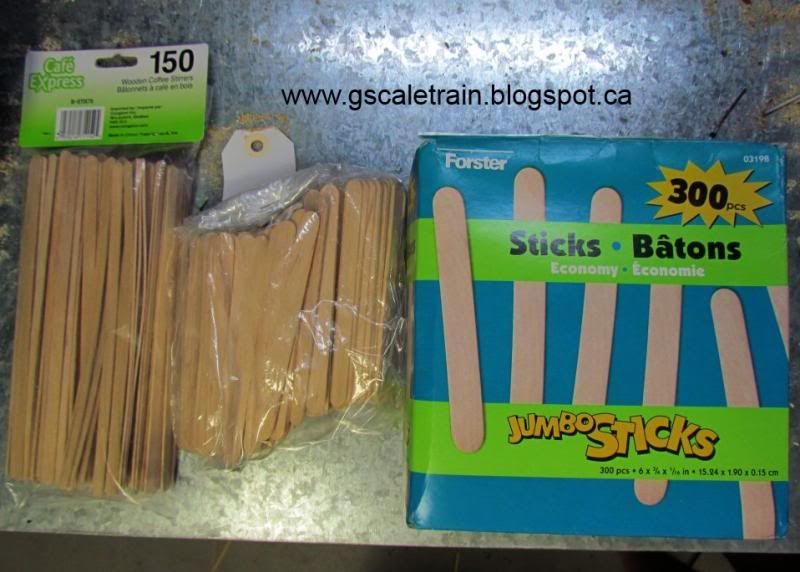
Though it is called a "Popsicle Stick Bridge" The truth is that there are no popsicle sticks used in the construction of it.  The main wood used is Tea Stir Sticks, and Tongue Depressors

02-sticks MATERIALS www.gscaletrain.blogspot.ca photo 02-sticks_zps4ece1818.jpg

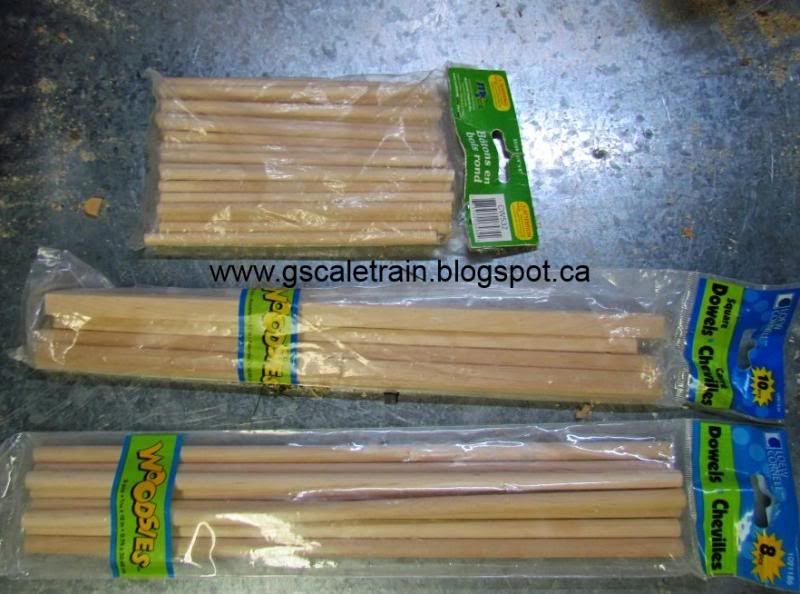
and additional detail is from Bar-be-que skewers and wooden dowels


 photo 03-dowels_zps8a2f2277.jpg

I found all my sticks at either Walmart, Michaels or Dollar Stores. As you know, the popsicle sticks come with rounded edges.  When I first started I spend many hours with my small hand-held hobby saw cutting off the ends one by one.


 photo 04-cutting1_zps31e7452a.jpg

Until I found a better way. Electrical tape all the sticks together (groups of 300 hundred) and with 60+ tooth sawblade just mitre saw all the ends off at once.


05-cutting MATERIALS www.gscaletrain.blogspot.ca photo 05-cutting2_zpsf962f438.jpg

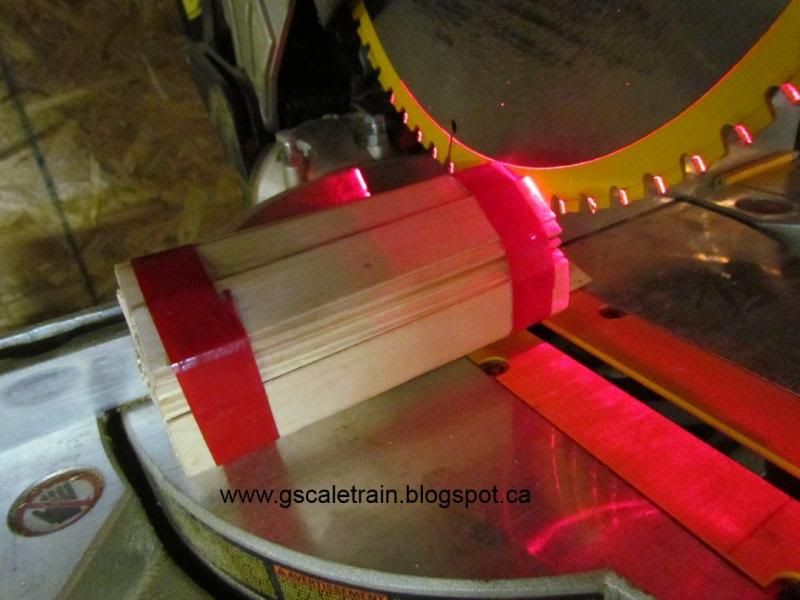
Some of them might be a little crooked, rough or splintered but a bit of sandpaper will buff that right out. Analyzing the individual sticks, some might have to be discarded for warping, weak structure or knots.

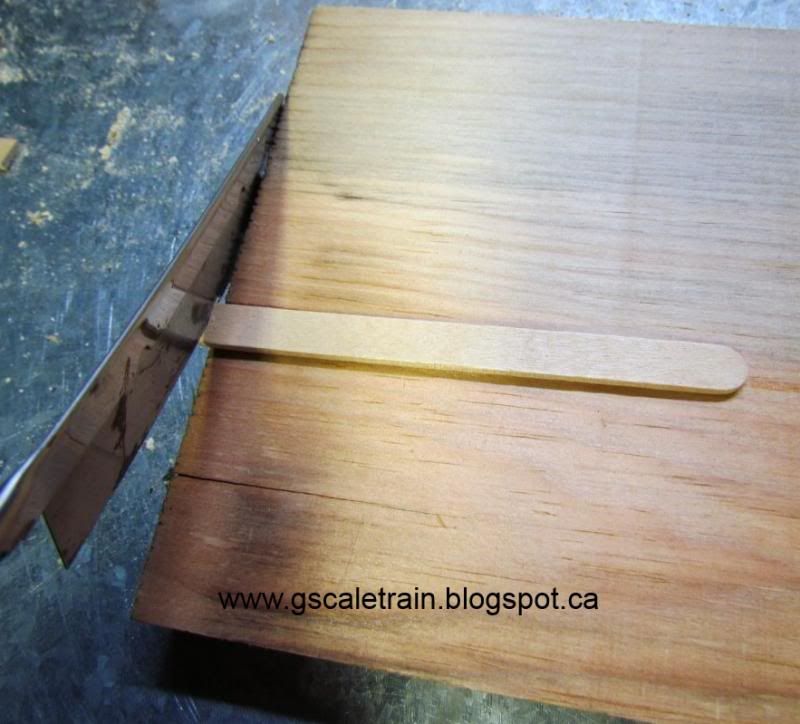
Some of the tea stir sticks we are going to have to split them down the middle.  Once again the small hand hobby saw can be used but it takes a long time (trust me, I started out cutting them one-by-one).  Now, I have a small scroll saw with a fine spiral tooth blade. 


 photo 06-jigsaw1_zps315107fc.jpg


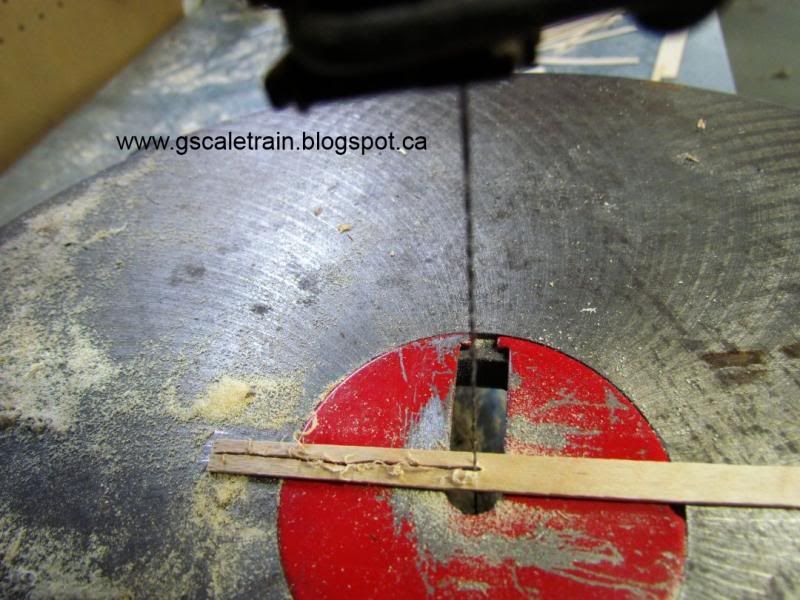
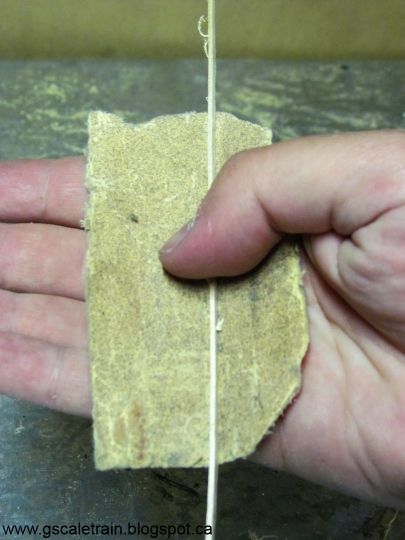
Holding the stir stick firmly and very close to the blade run the stick all the way though cutting the best you can down the centre.


 photo 07-half_stick1_zps70a3b58a.jpg

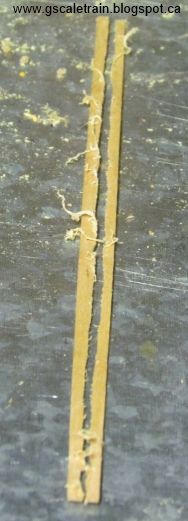
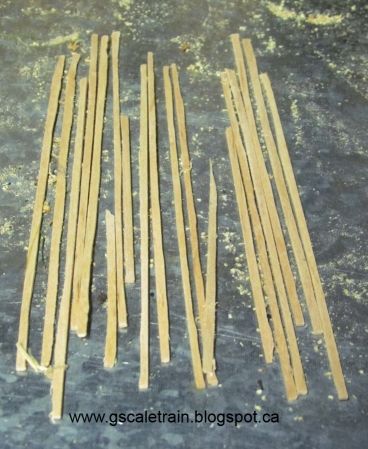
It is impossible to do a perfect job but once again a bit of sandpaper will fix the wobbly edges.


08-half-stick2 MATERIALS www.gscaletrain.blogspot.ca photo 08-half_stick2_zpse7b1c17d.jpg

You are going to have good/bad sticks, but that is ok, because they will all be useful.


 photo 09-half_stick3_zpsf2a2d5f7.jpg

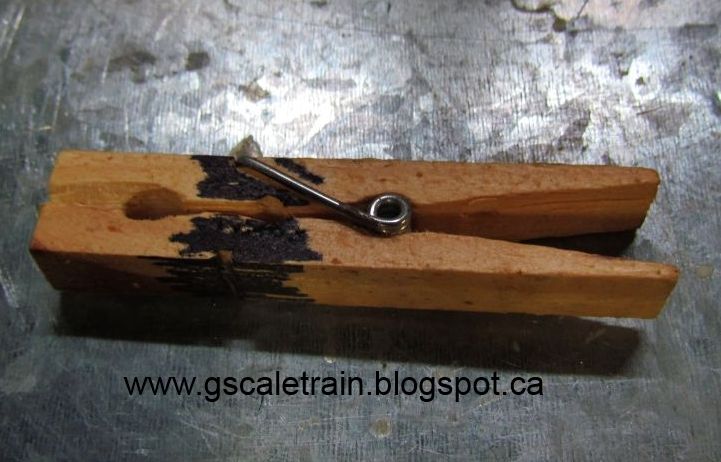
The last thing you need is wood clothes pins and plastic clamps - Lots of them.  You might need a dozen on one structure at a time or may need to make many structures simultaneously.  I modified a number of my clothes pegs by sawing off the front bevel.  Some of the things we are gluing can be small and we need the grip at the tip. I also coloured them with black marker so I can find the modified ones from the regular.


 photo 10_black_clothes_pins_zps5b74bf0d.jpg

Next Bridge Blog we are going to talk about Sandwich Beams and Big 'I' Beams used in making the main bottom frame.


CLICK HERE TO GO BACK TO PART 1 of How To Build a Popsicle Stick Bridge

CLICK HERE TO GO TO PART 3 of How to Build a Popsicle Stick Bridge

CLICK HERE FOR THE FINISHED BRIDGE :) 

Friday, October 11, 2013

Downtown Reconstruction in G-Scale Train Garden Railway - 10-11-13

Blog Entry by Bob


The downtown to our train layout is less than a year old.  We couldn't believe until we looked at the old pictures.
[Night Shots anyone? G-Scale Train Blog 11-24-12]
We were lucky enough to be given some Commercial Buildings from Winona Garden Trains when they were renovating this summer.  This started me thinking about ripping everything out and starting over again. Here are some before shots.


02before01 photo 02before01_zps442e96ee.jpg

01before02 photo 01before02_zpse9d6fd87.jpg


Bye-bye buildings, sidewalks, roadway and all the wiring to run the lights. Here is the downtown with everything removed.


03clear01 photo 03clear01_zps7a4f628e.jpg

The first problem that I had was that my main street sloped up with the small shops rising up with the grade.  The new buildings (new to me) were 3 times larger and needed a flat surface. I realized I had the cut up to 3 inches the flatten everything out.


04regrade01 photo 04regrade01_zps961c7d57.jpg


I took a couple days off from work and put in some time everyday to slowly transform the downtown into my vision.  I moved the Tractor Repair Shop and replaced it with the Municipal Building and the Harley Davidson Shop. 


05harley02 photo 05harley02_zps70eb7787.jpg

The four small shops got moved beside the creek stepped downhill towards the water.  I added the Green Hotel beside the train station and the large Hobby Shop and empty buildings across the street.


06harley03 photo 06harley03_zpsdde36c27.jpg

08town photo 08town_zps02a60c26.jpg

07town photo 07town_zps025f5a30.jpg


After spending the final day off wiring I managed to get the town turned back on for nightfall. Check out the neat lighting!


10night05 photo 10night05_zpsb7665645.jpg

11night06 photo 11night06_zps0238f03f.jpg

12night06 photo 12night06_zpsb50b28e1.jpg

14night03 photo 14night03_zpsc5311916.jpg

 photo 13night06_zpsd6457d9b.jpg

15night02 photo 15night02_zps501fc7b8.jpg

09night01 photo 09night01_zps360a953c.jpg

Friday, October 4, 2013

How to Build a G-Scale Garden Train Popsicle Stick Bridge - Part 1 Planning

(Blog Entry by Bob)

Planning
 Steps to building a Popsicle Stick Bridge for your G-Scale Garden Train Railway is to figure out what shape, style and size of bridge it is that you want to make. The length of our bridge depended on the distance we wanted to span, which ended up being around 7 feet long.

www.gscaletrain.blogspot.ca photo 01-measure_zps1652194e.jpg

I wanted to do an old steel bridge and found a great website that documented old historic bridges .  Many years ago I had seen the O'Reilley's Bridge before it was taken down and in the back of my mind I wanted to create something like that. It wasn't until I started viewing all the detailed pictures on the site that I realized that it could be possible to create out of common popsicle sticks. People have been asking me for detailed plans on how to create the our bridge - CLICK HERE FOR THAT BLOG ENTRY.  Unfortunately, everything was in my head and only created a few diagrams to establish dimensions and angles. I always do all my models at 1:24 scale for the simple math conversions (1 inch = 2 feet). I will try to recreate my steps over the next several blogs and will hopefully inspire others to create similar masterpieces. The next thing I did was to obtain an aerial photo of the bridge to figure out its length and width. I divided the bridge into nine X 9 inch sections making the bridge 81 inches long or 6'-9". I wanted the main width to also be 9 inches wide with additional 1 inch jut-outs for the Cross-Stitch Columns (Total 11 inches)

www.gscaletrain.blogspot.ca photo 02-aerial_zps62903809.jpg

Next I found a photograph of the side of the bridge. Knowing a train car is roughly 8 inches tall I needed a 2 inches for the top cross beams, 2 inched for the bottom beams plus an extra inch of clearance giving me a height of (2+8+1+2)=13 inches at each end and 15 inches in the middle.

www.gscaletrain.blogspot.ca photo 03-elevation_zpsa7d65f21.jpg

Analyzing the pictures, I created a list of primary parts I needed to make: -Big 'I' Beams for the bottom cross stucture -Mid-Size 'I' Beams for walkway support and railing posts -Sandwich Beams for the main top + bottom structure the entire length -Mid-Size 'L' Channel for bottom cross supports -Small 'L' Channel to be used to create the top angle joists -Mid-Size 'C' Channels to be used to create Cross-Stitch Supports -Small dowels for top cross supports and handrails.

www.gscaletrain.blogspot.ca photo 04-list_zpsa65f95f7.jpg

More about creating the parts in a later blog...   CLICK HERE TO SEE PART 2 - MATERIALS

CLICK HERE FOR THE FINISHED BRIDGE