Blog Entry by Mary, Photos by Mary & Bob
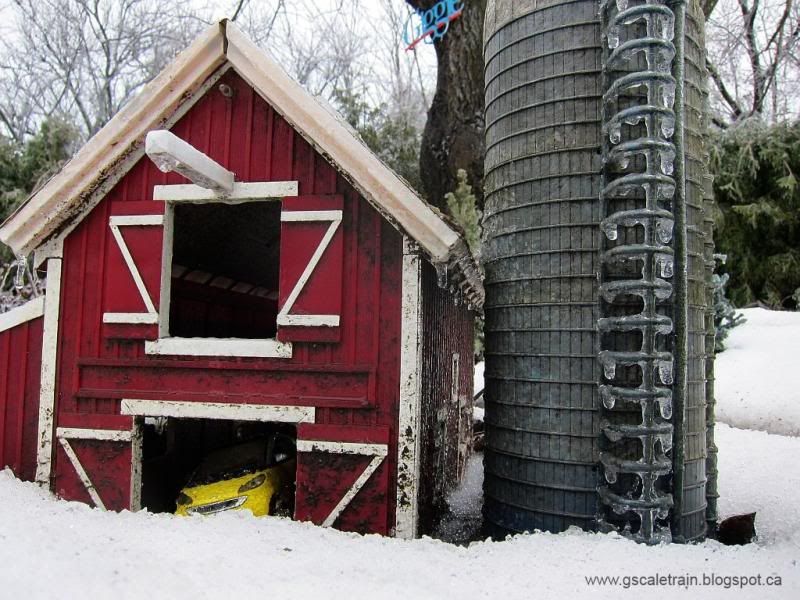
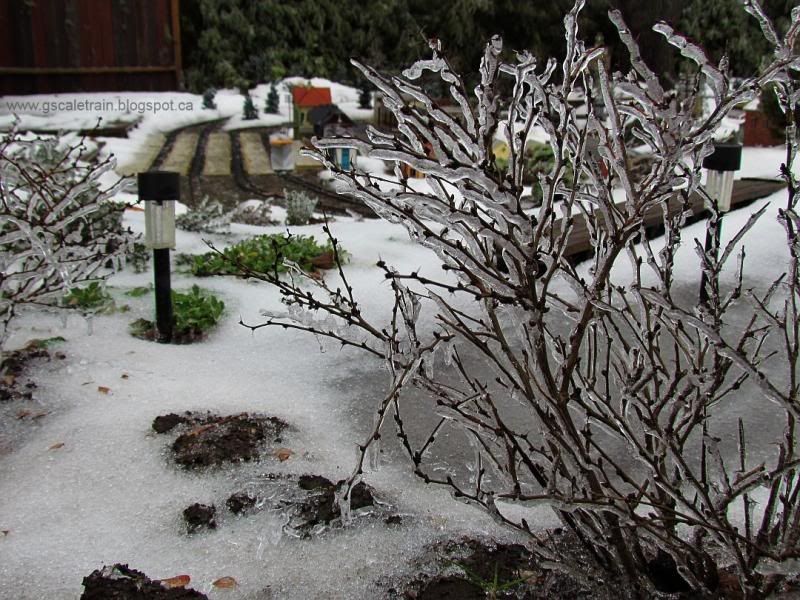
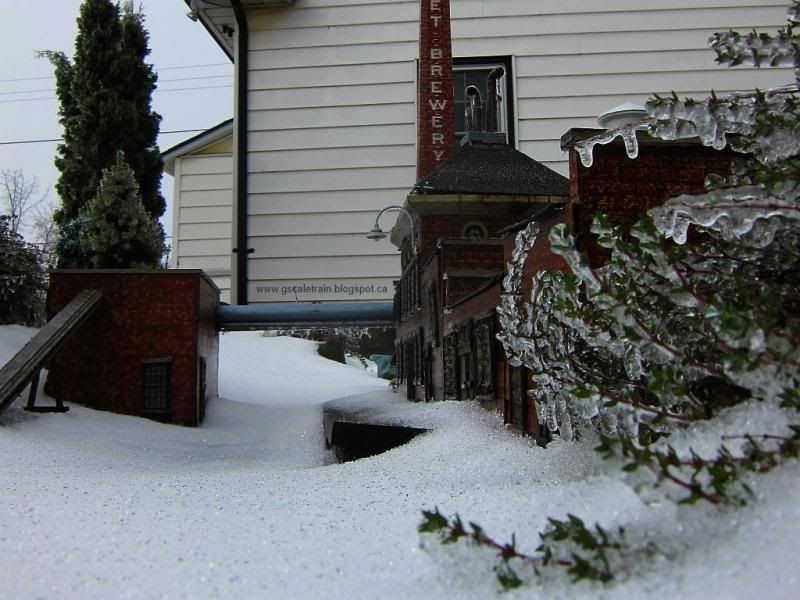
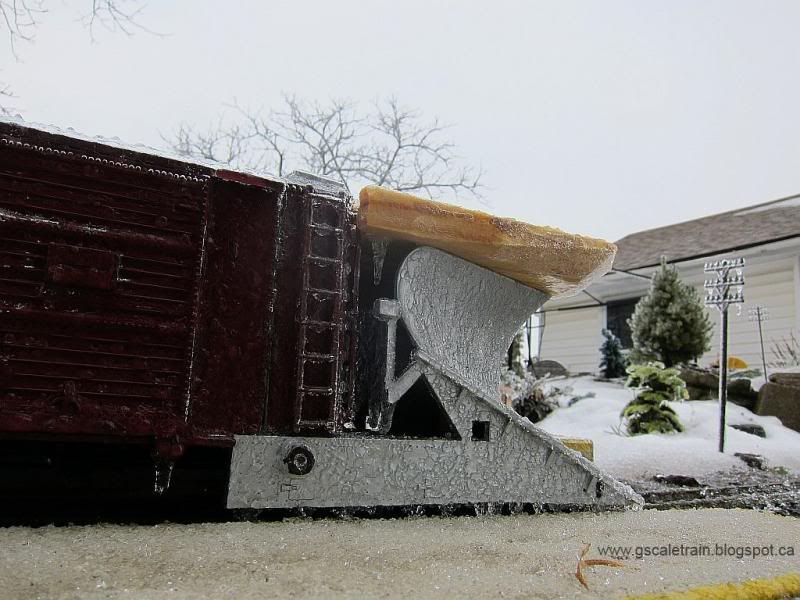
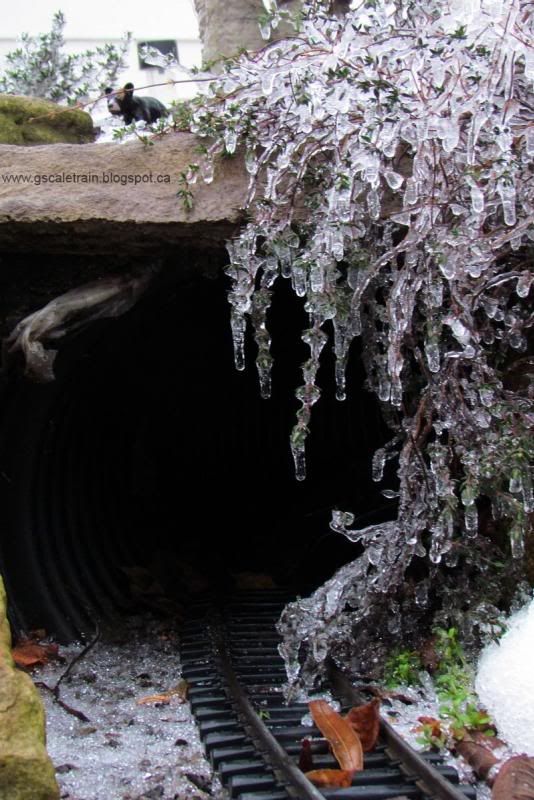
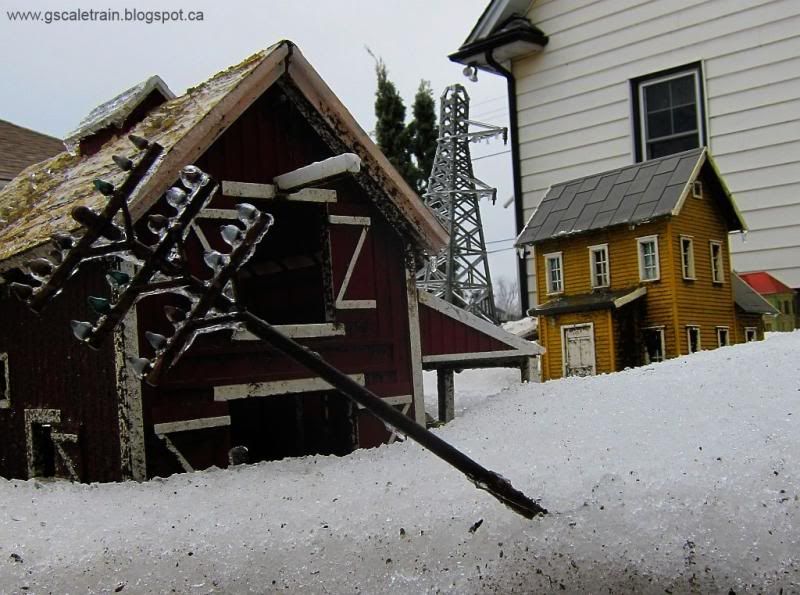
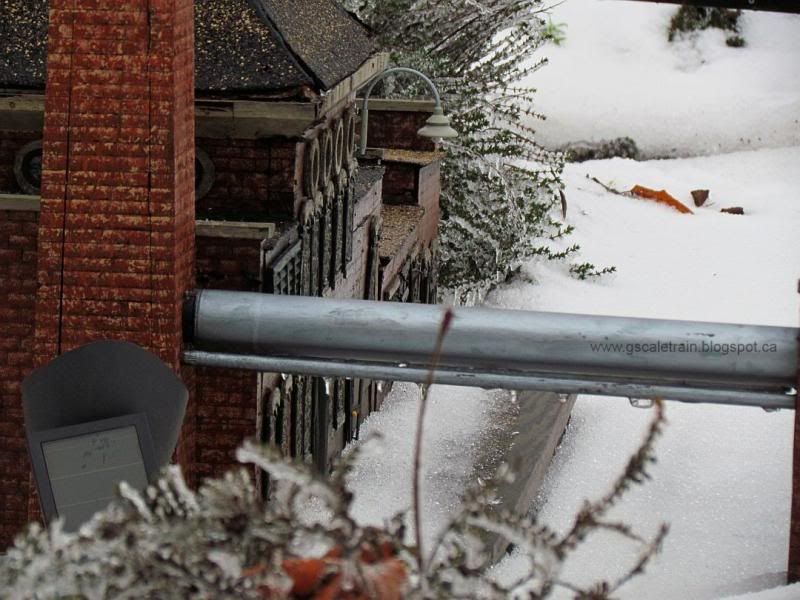
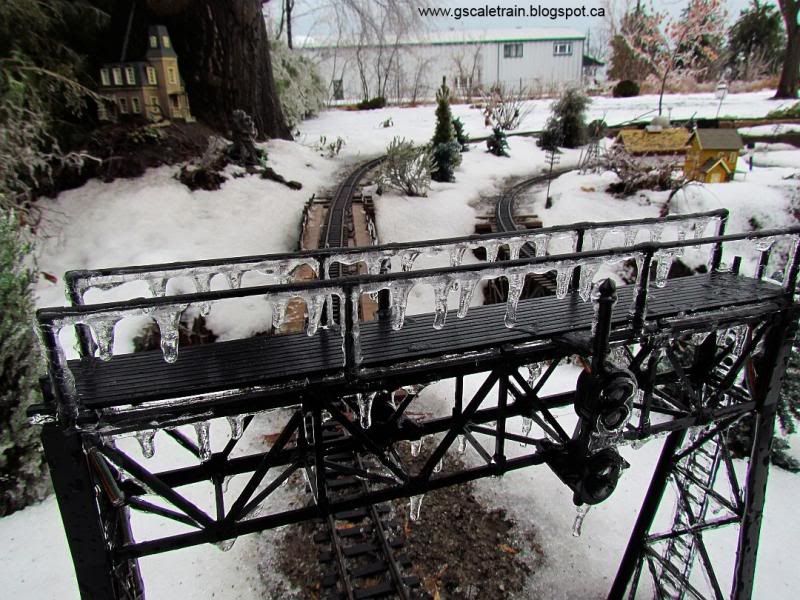
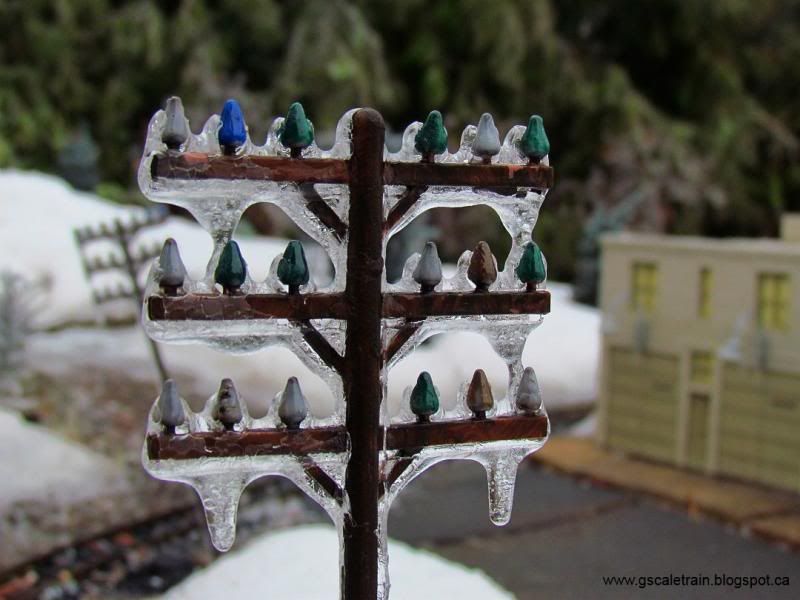
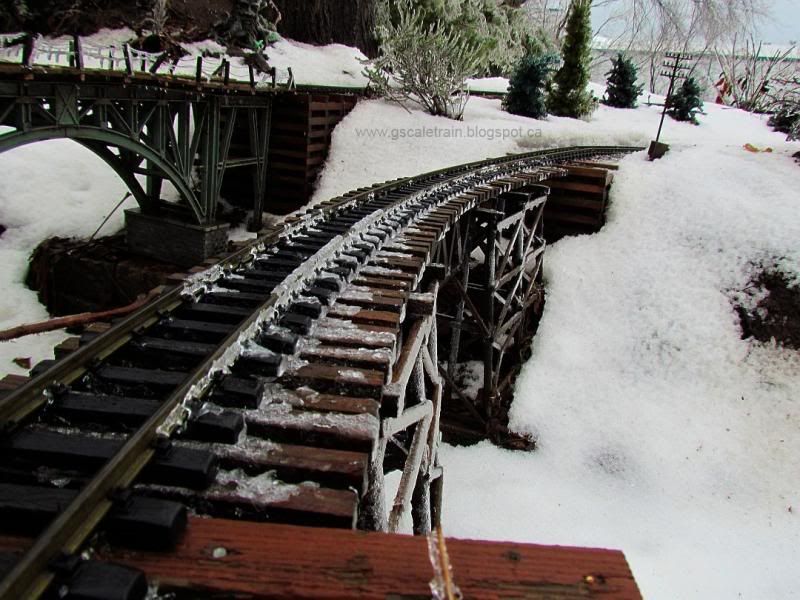
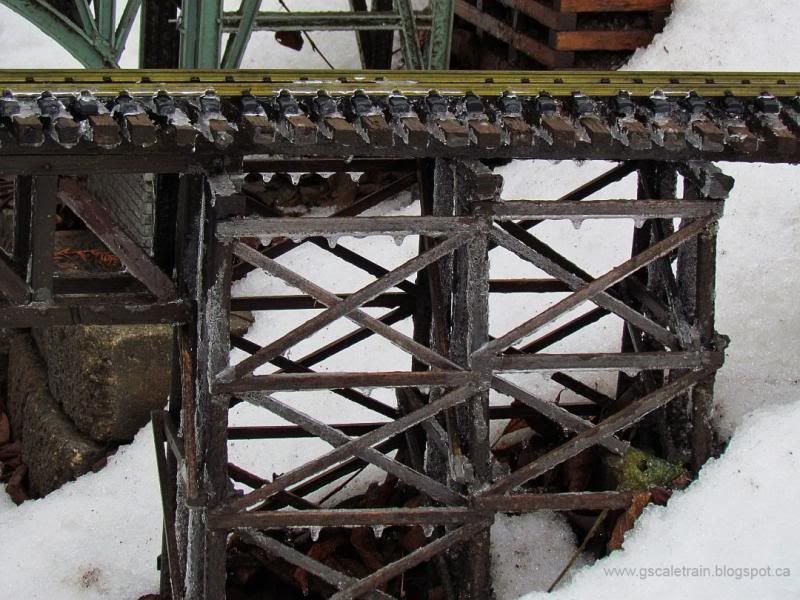
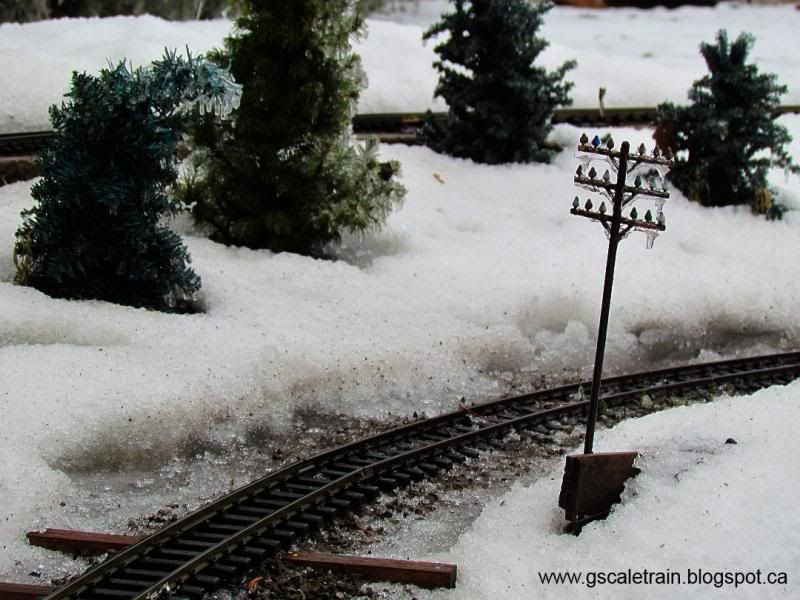
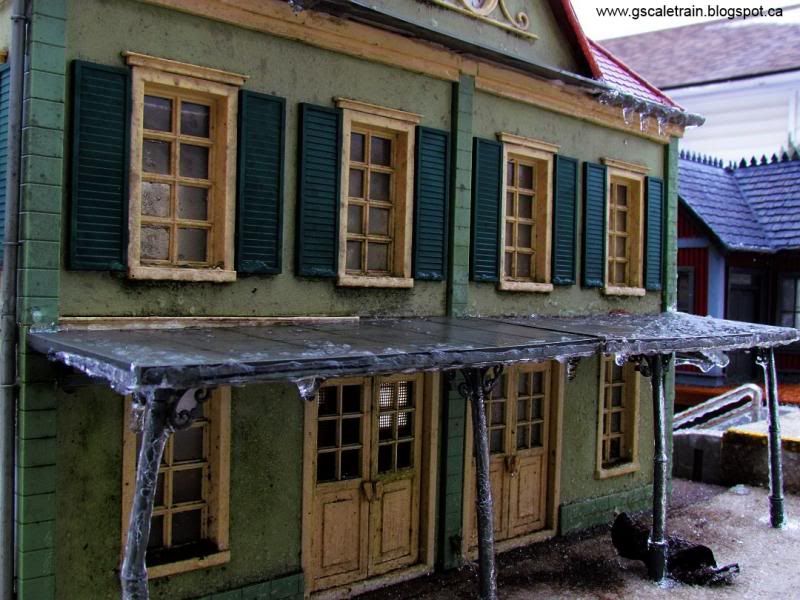
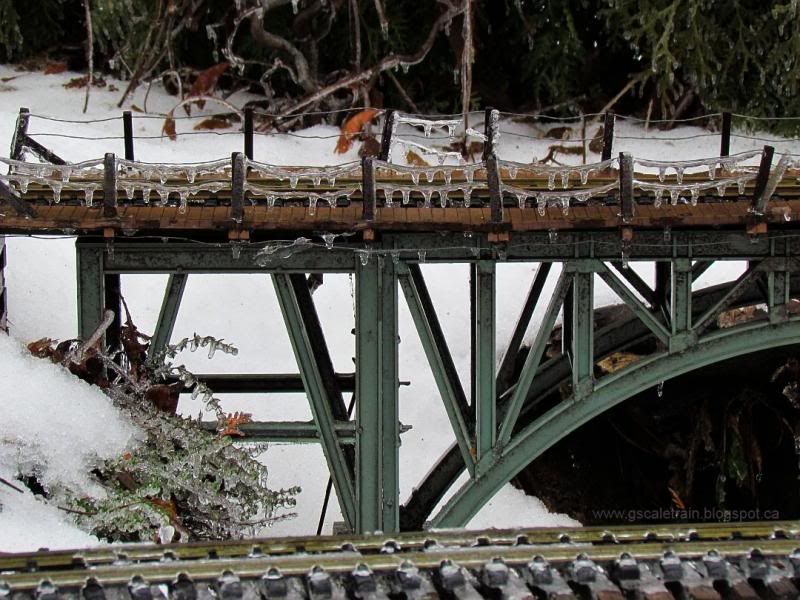
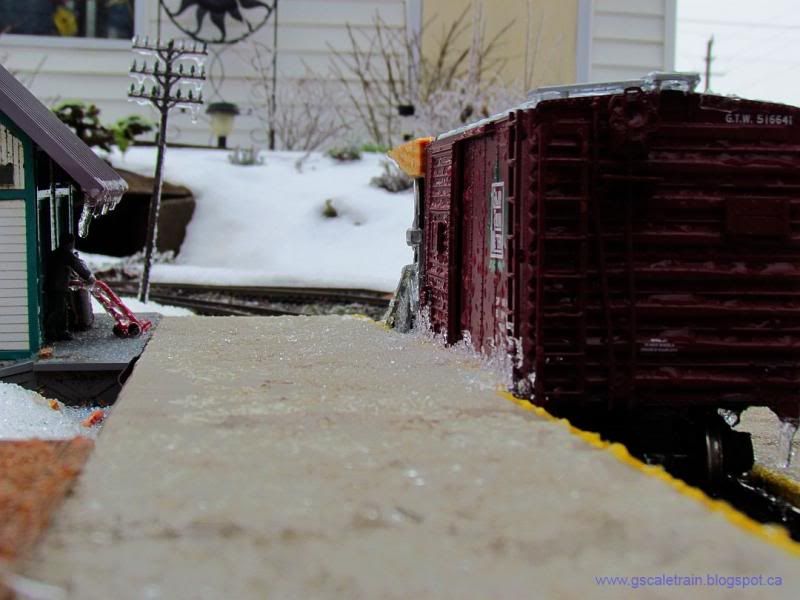
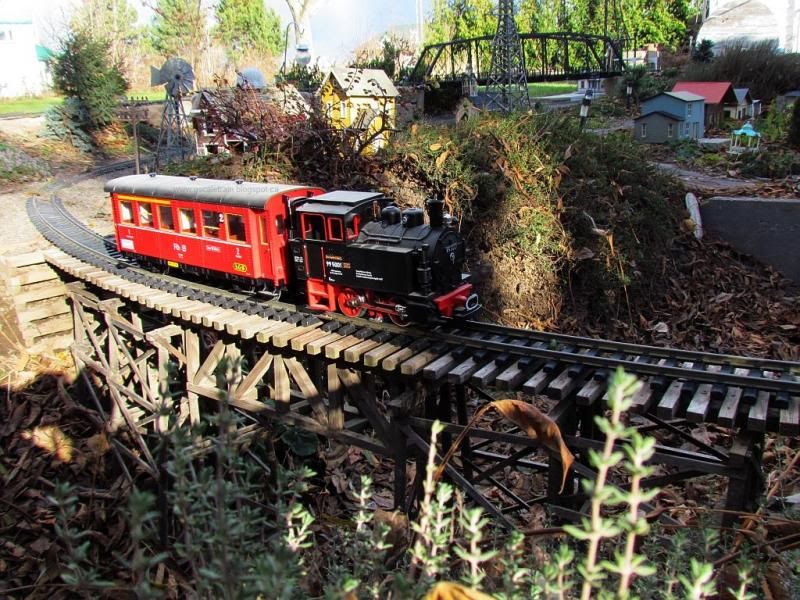
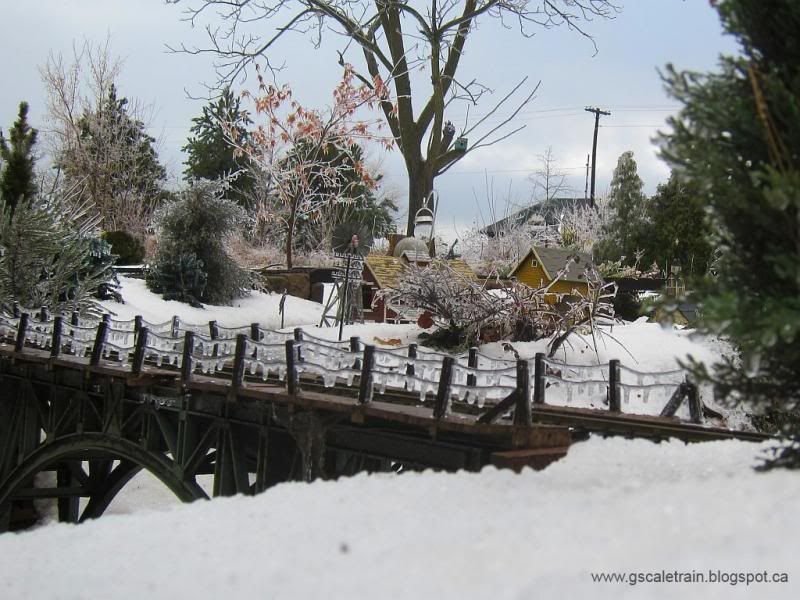
It was forecasted for our area and most of Ontario & Quebec were going to be smacked by an ICE STORM on December 21/22, 2013 and we sure did.
The power in our home went out after watching Saturday Night Live on the 21st. We had just been asleep for about a half hour when our power died. No biggie we thought, we were going to sleep anyways. 5am came along and Bob woke me up: "Mary!!! The power is still out and our back-up sump pump has failed!" Yikes! Jumped up, and started running around the house. Bob went outside and hooked up the generator. We were able to get some power to the sump pump, fridge and some lights. Bob was exhausted and had to go back to sleep, but I was a little nervous as to leaving a generator on unattended outside in the dark. Around 7:00-7:30am, the power came back on. I woke Bob up and he went outside to shut down the generator. He wasn't feeling so hot and went back to sleep. As the daylight started to appear outside, I walked around the house looking outside, I could see bushes in our yard loaded with ice and warping them all. I decided to go outside and look around. The lot beside us had a broken tree, everything was gorgeous with the ice glistening in the light. I decided to take some photos before the sun came out and made it all melt. I heard a window open and it was Bob, he was up. After I came inside he went outside and here are some of the shots we took. Enjoy!
Bob and I would like to take this opportunity to wish you all a SAFE & HAPPY NEW YEAR!!! We will post another blog entry in 2014! Woo!!!
Friday, December 27, 2013
Ice Storm in G-Scale Land Garden Train Railway - 12-27-13
Labels:
BRIDGE,
g-scale,
g-scale garden train,
railway,
train
Saturday, December 21, 2013
German Train Blog - G-Scale Train Garden Railway - 12-21-13
Blog Entry by Bob
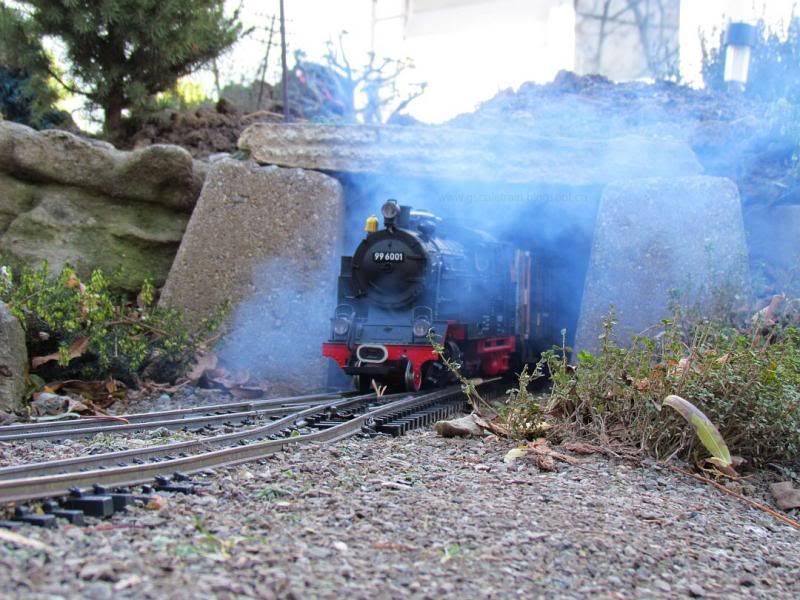
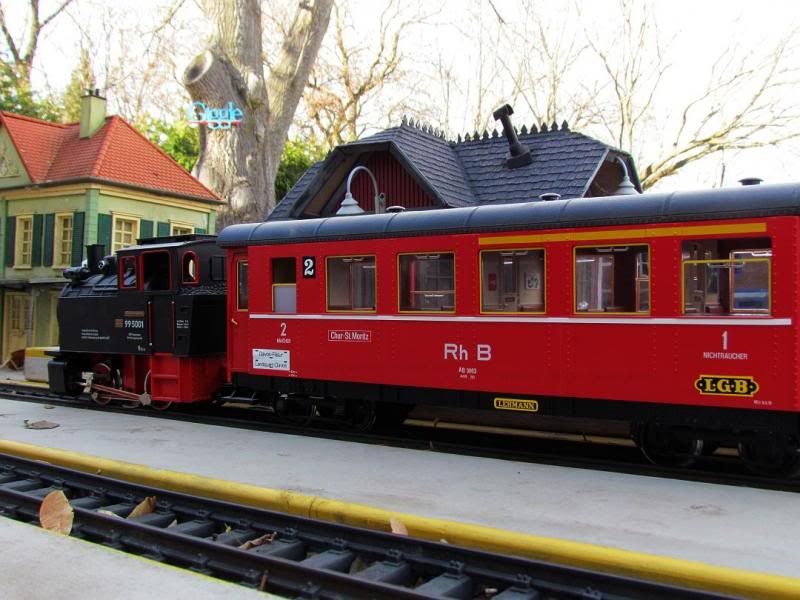
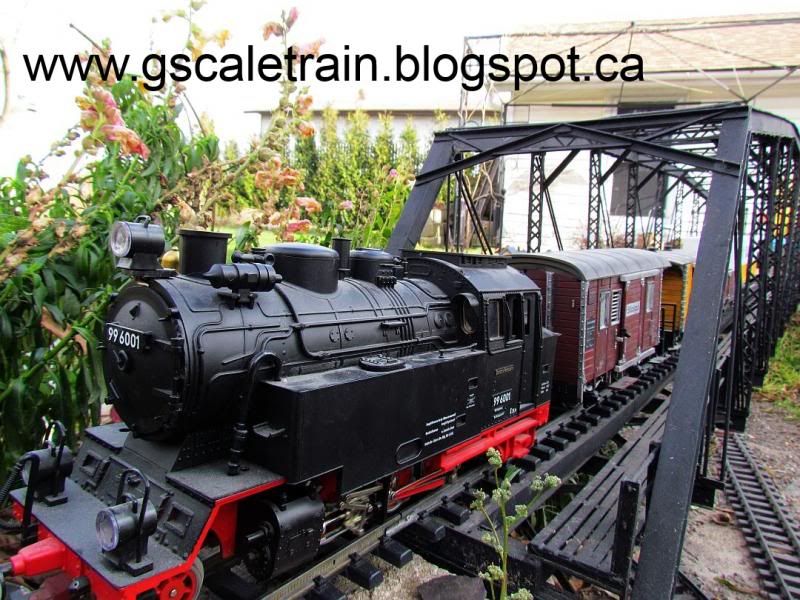
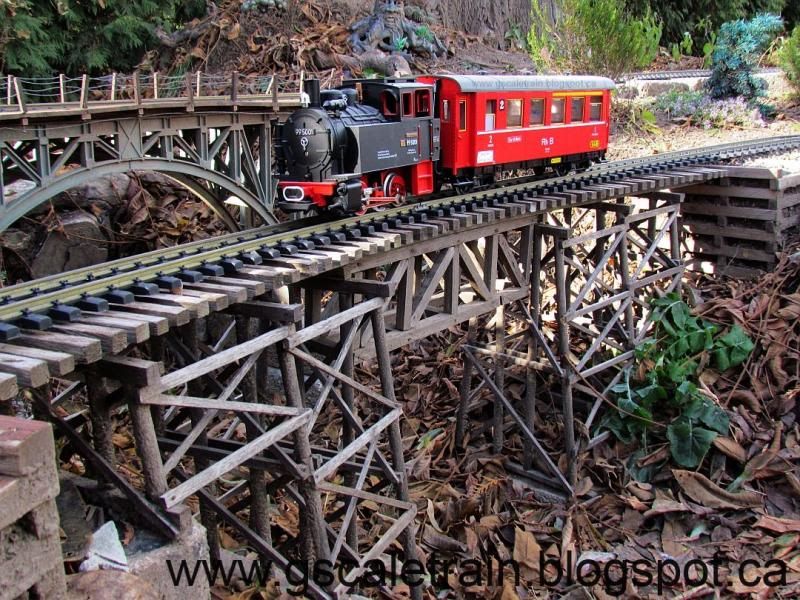
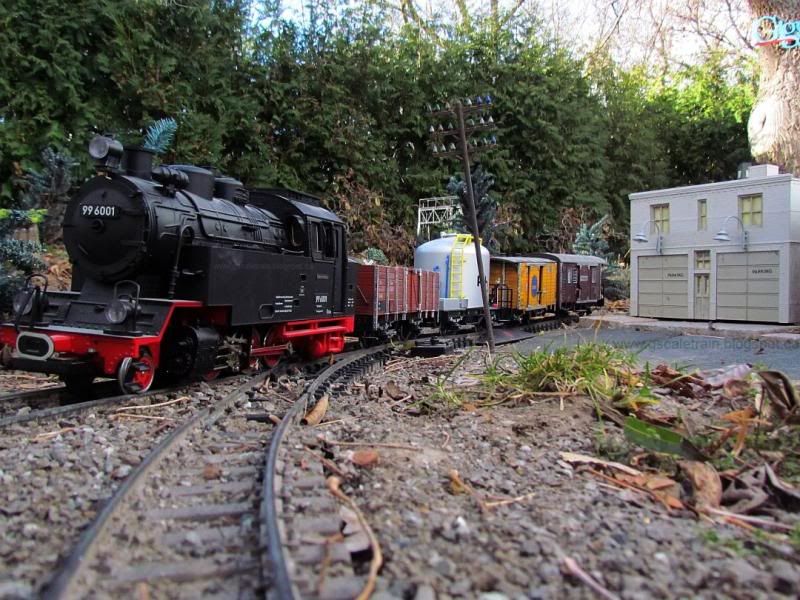
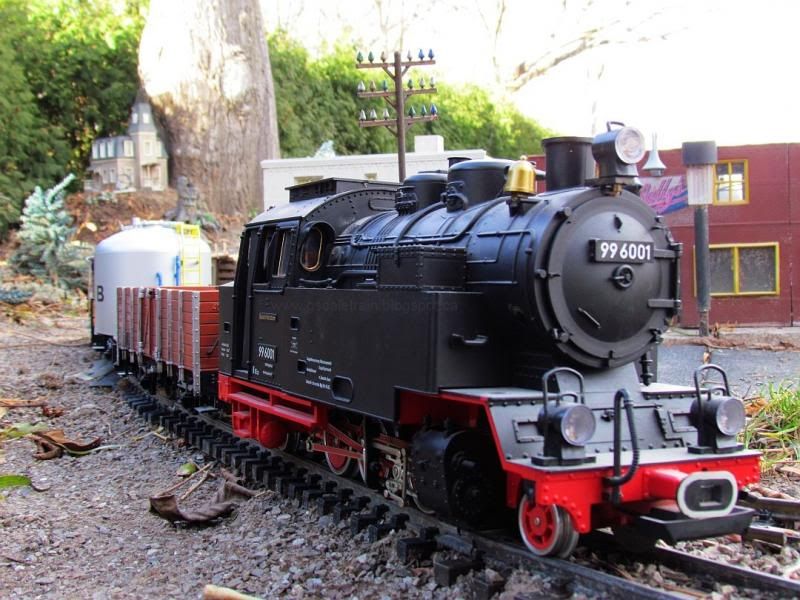
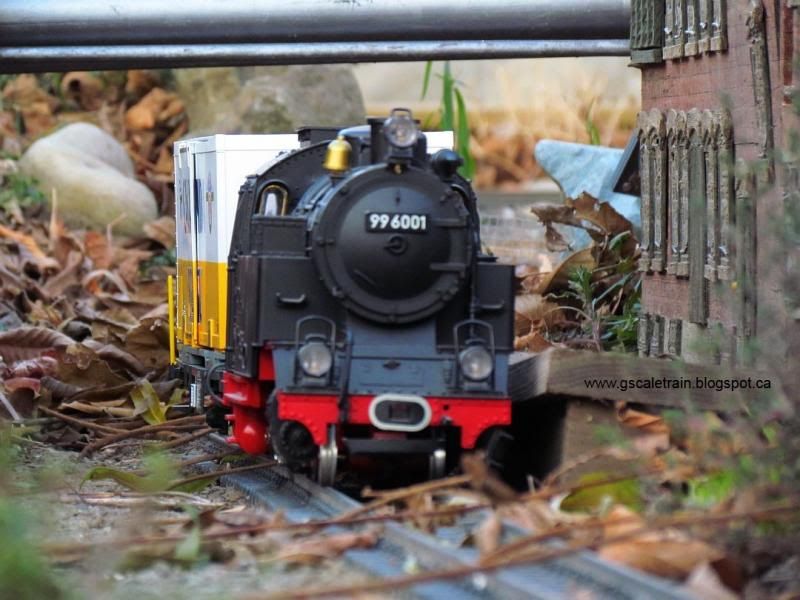
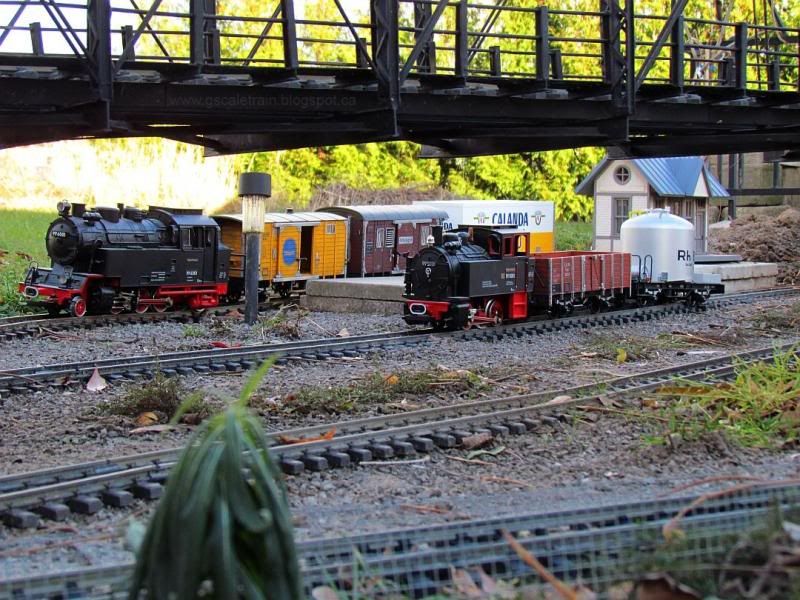
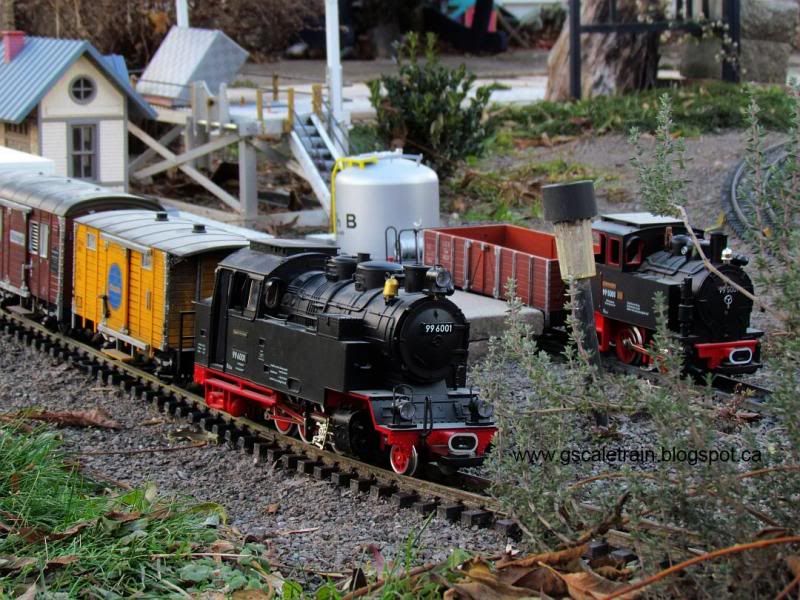
It was September 20, 2008, our wedding day, when I was left alone with my best man, and decided to slip out to response to a Kijiji ad. to purchase my first G-scale train. It was a green Stainz locomotive with 3 rolling stock cars for $35. Since then, we have picked up some more German locomotives and rolling stock.
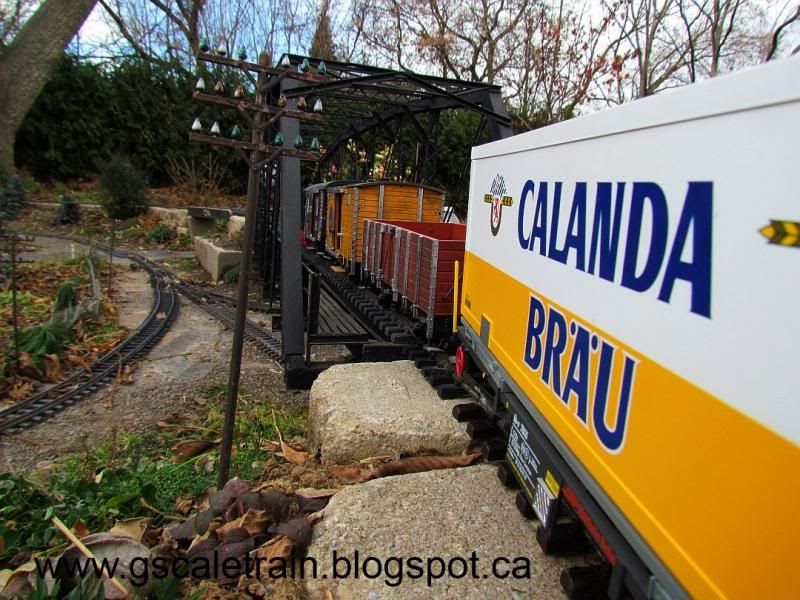
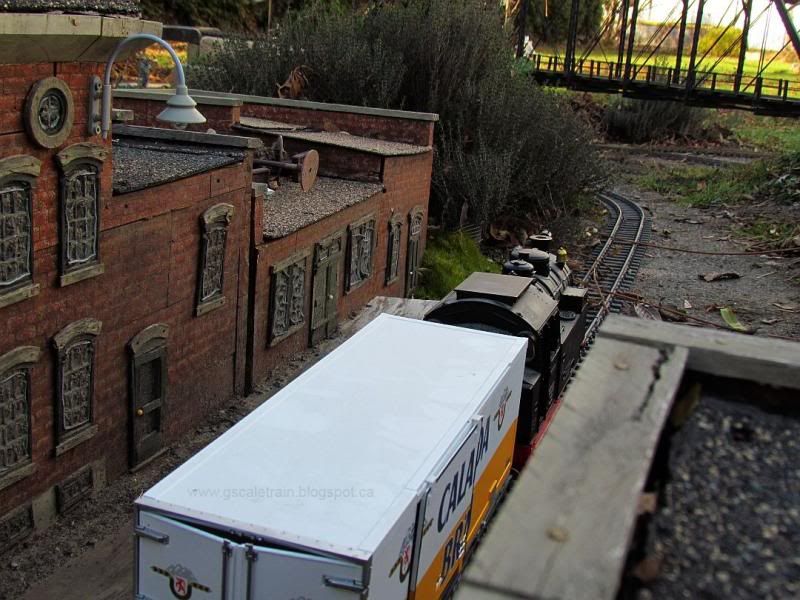
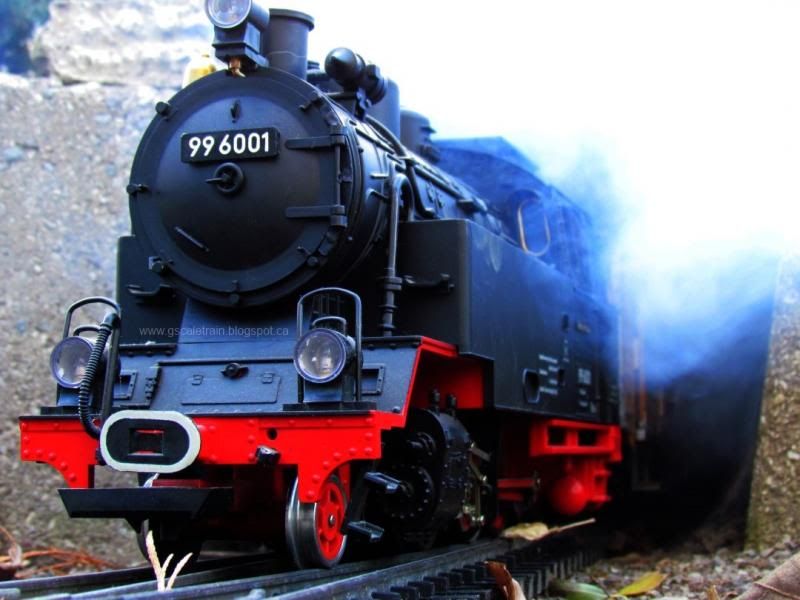
We have noticed the blogs over the past several months have lacked one key ingredient: train photos. We wanted to get back to basics and feature some of our first trains. Never before seeing the light of day, only to collect dust in our toy room. I (Bob) wanted to showcase our beginnings. These photos were taken in the beginning of December before the foot of snow blanketed Southern Ontario. This was also my first opportunity to try out our fog machine.
Both Mary & I would like to take this opportunity to wish you and your family & friends a VERY Merry Christmas!!!! Hopefully, there will be one more blog entry before 2014 :)
Labels:
g-scale,
g-scale garden train,
railway,
train
Saturday, December 14, 2013
How to Build a G-Scale Train Popsicle Stick Bridge Part 6 - -Small 'L' Channels & Triangle Joists
Blog Entry by Bob
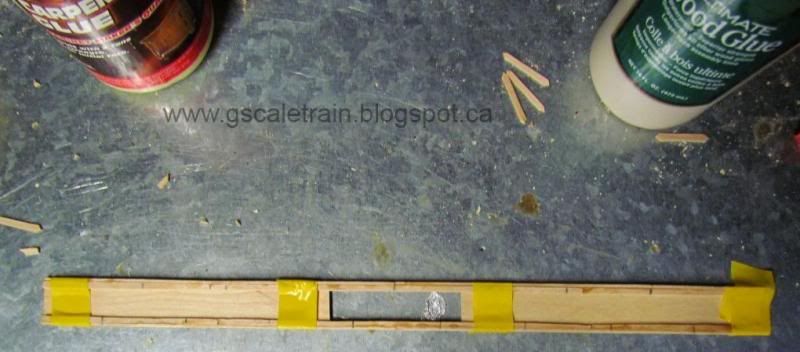
Small 'L' Channels are built just like Mid-Sized 'L'
Channels except with 'cut-down-the-middle' stir sticks. I
recommend joining them together with the 'good edge'
instead of the jagged edge where you cut them. These
are going to be 11" long and glued together staggering
the wood for strength.
Remember once the glue has dried, to sand the rough edges.
We are going to need six of these triangle joists and
there are four of the small 'L Channels in each one, so
you will need 24 of the little pieces.
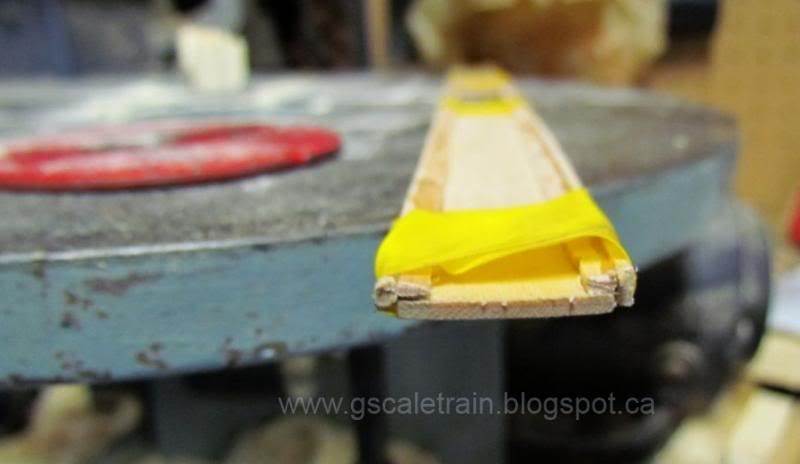
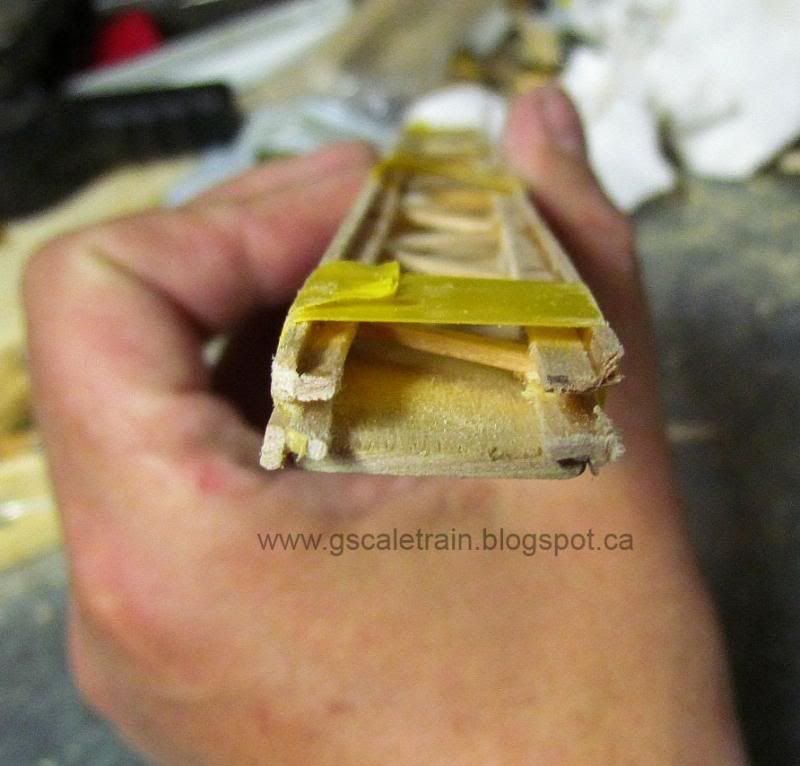
After the glue has dried we are going to electrical tape
the tongue depressors between two channels. Make sure the
large flange is resting on the tongue depressor.
Start in the center and mark outwards at 1 1/2"
intervals on one side. The other side start 3/4" from
center and mark at 1 1/2" intervals.
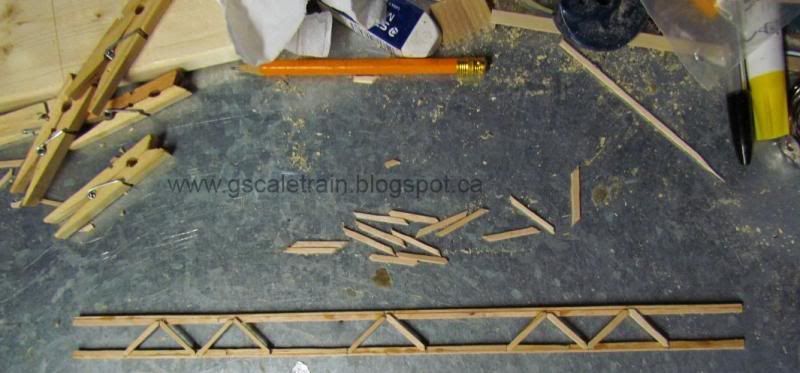
Using stir sticks that have been split-down-the-middle, mark
every inch by starting a little bit from each end.
Using scissors cut diagonally (45 degrees) at 1 inch
marks moving the same direction. Cut off the sharp ends
at 45 degrees in the opposite direction.
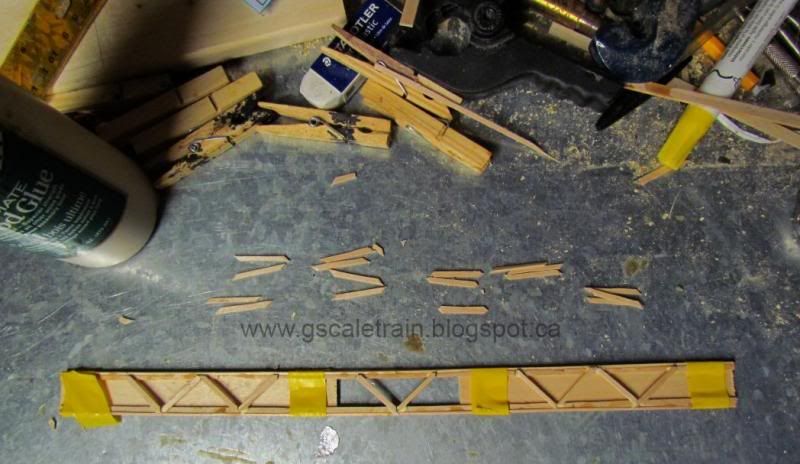
After we have a bunch cut, we are going glue the ends on
either side of the 1 1/2" marks on the 'L' channels in a
a zig-zag pattern. With the wet glue you can maneuver
the stick so they line-up nicely together.
Obviously, you cannot glue where the tape is holding
everything together, but once that glue dries you can
remove the tape, tongue depressors and glue the rest of the zig-zag pieces.
Adding drops of glue at the ends of the zig-zag, we are
going to place the remaining two 'L' channels. Re-using
the tongue depressors and some fresh electrical tape we
are going to bind everything back together again.
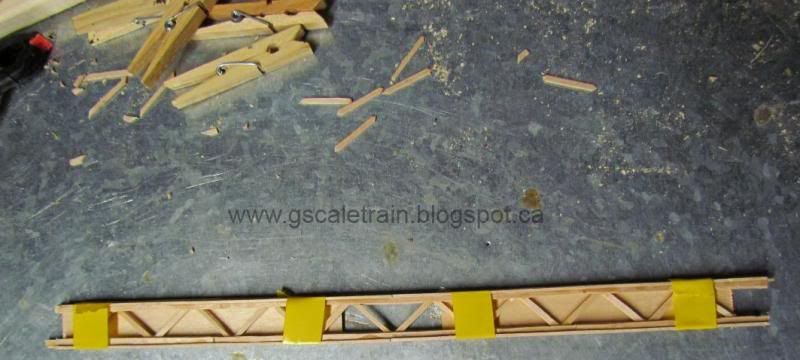
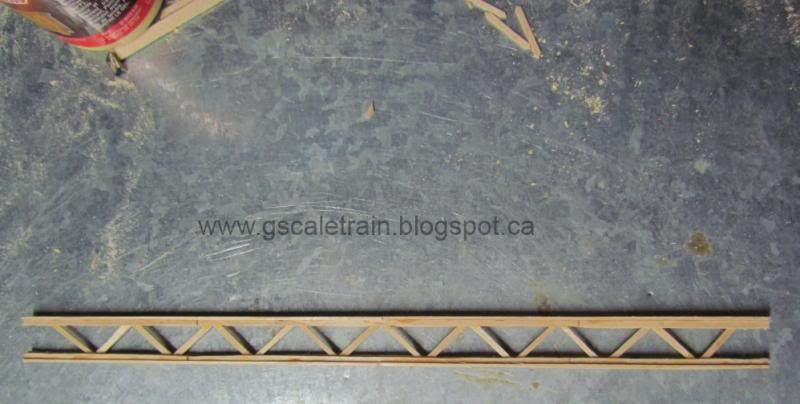
After the glue dries, hopefully your pieces will look like
this. Do not forget to sand the rough edges where some
of the zig-zags might stick out.
Next Bridge Blog we are going to talk about the 'H'
Beams for the walkway and railings.
CLICK HERE TO GO TO PART 7
CLICK HERE TO SEE THE FINISHED BRIDGE
CLICK HERE TO GO BACK TO PART 5 ON HOW TO BUILD A G-SCALE POPSICLE STICK BRIDGE
WE WANT TO HEAR FROM YOU!!!
PLEASE COME JOIN US ON OUR FACEBOOK GROUP - We would love to hear if you are building a bridge, see any photos and answer any questions. CLICK HERE
Labels:
building,
g-scale,
g-scale garden train,
garden,
railway
Saturday, December 7, 2013
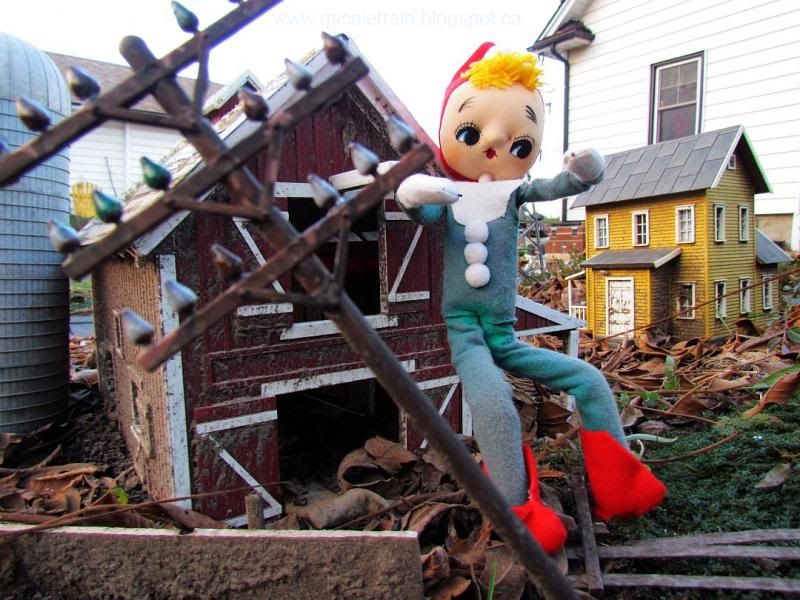
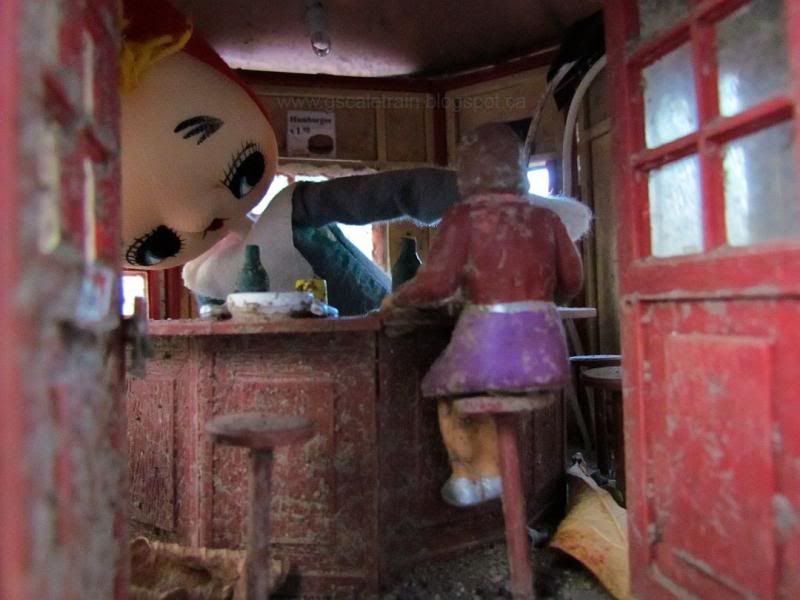
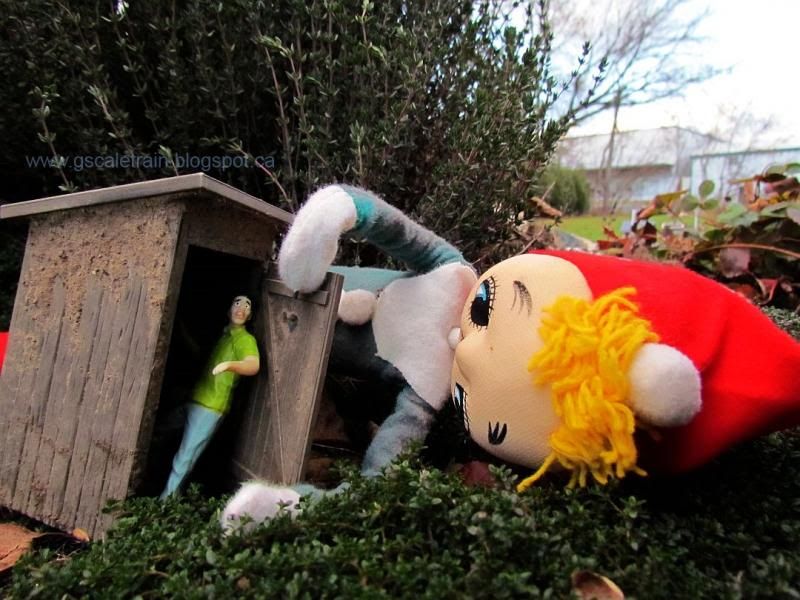
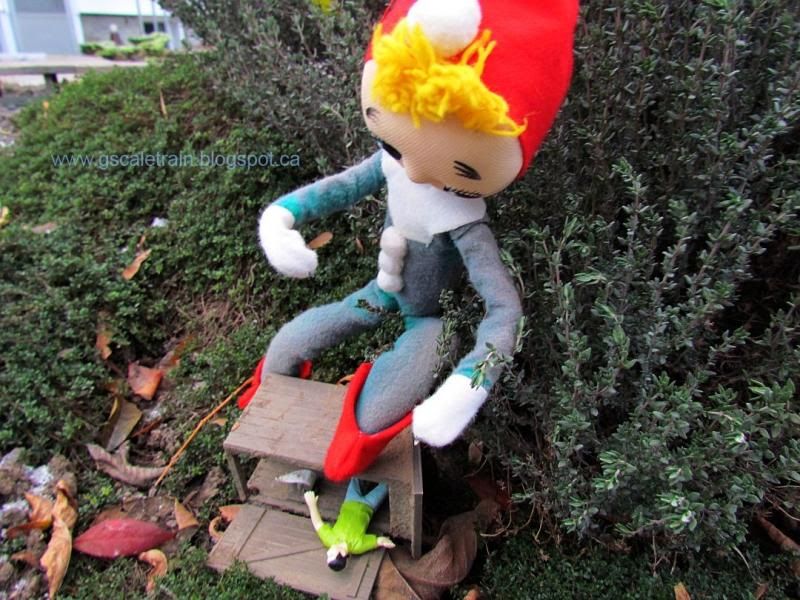
Elf on the Shelf visits G-Scale Land - Garden Railway Train Set 12-07-13
Blog Entry & Photos by Bob
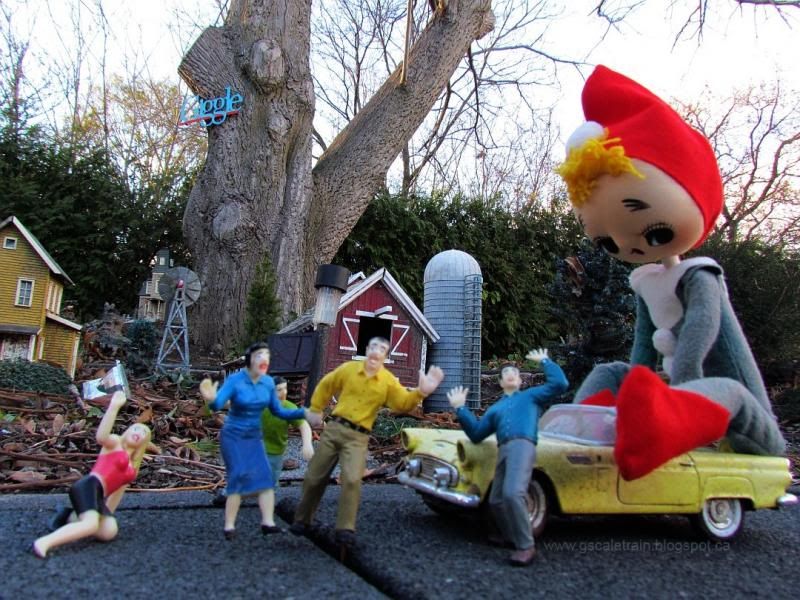
It was a cold December day when Elf drove into town.
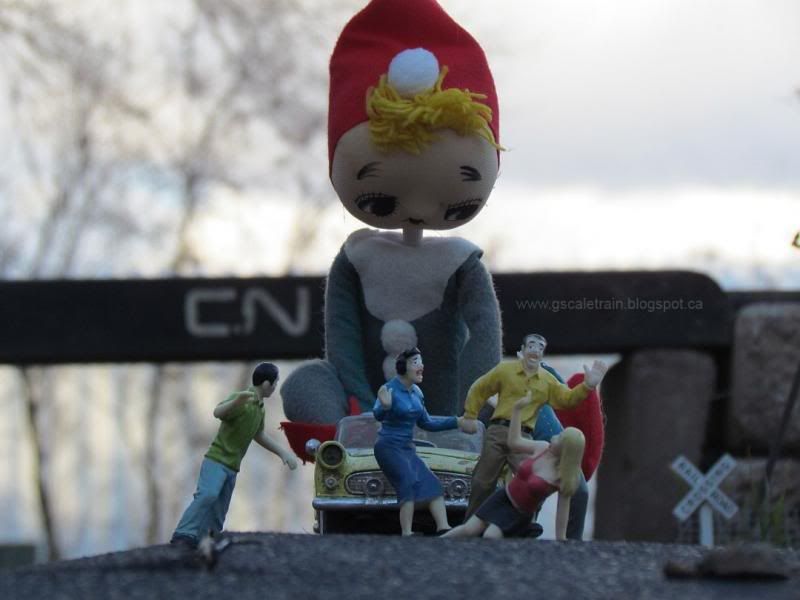
He soon ran into a few of the town folks and made some new friends.
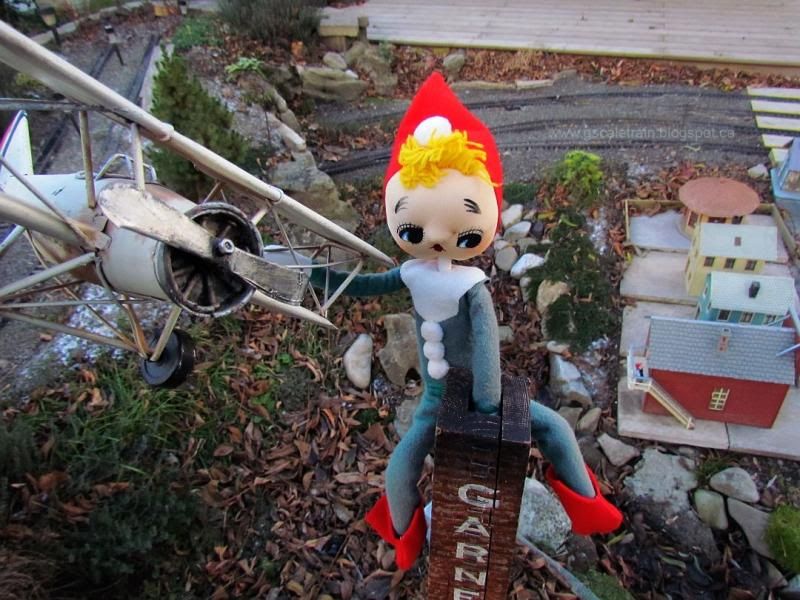
While downtown, he went to look up some return flights.
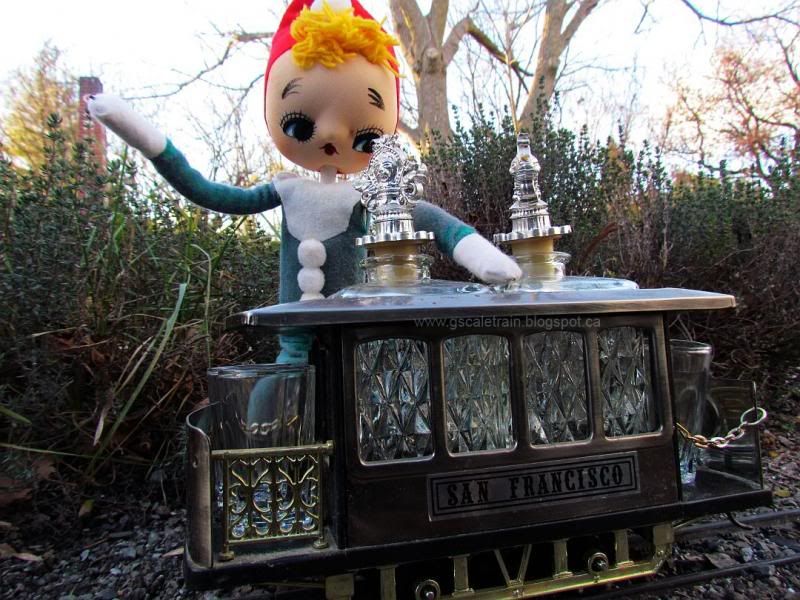
He was lucky enough to catch a trolley cross town...
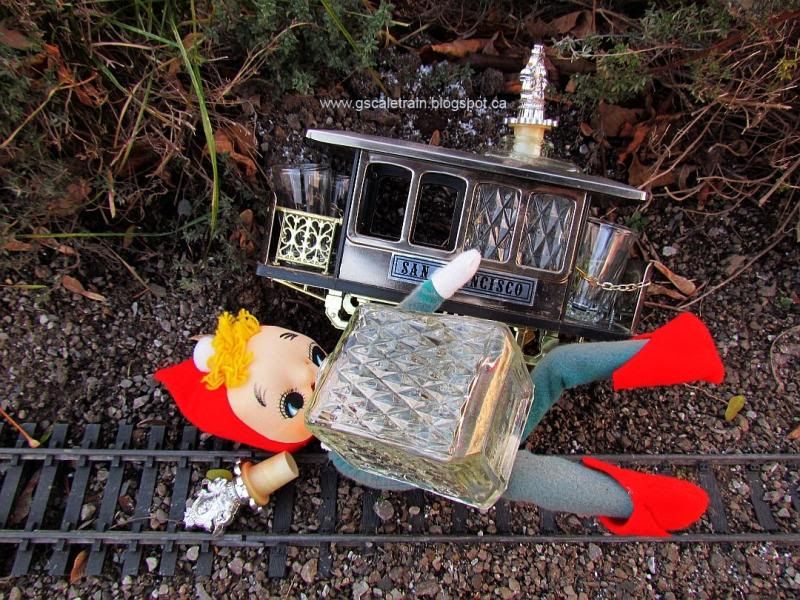
and found some time to enjoy a drink.
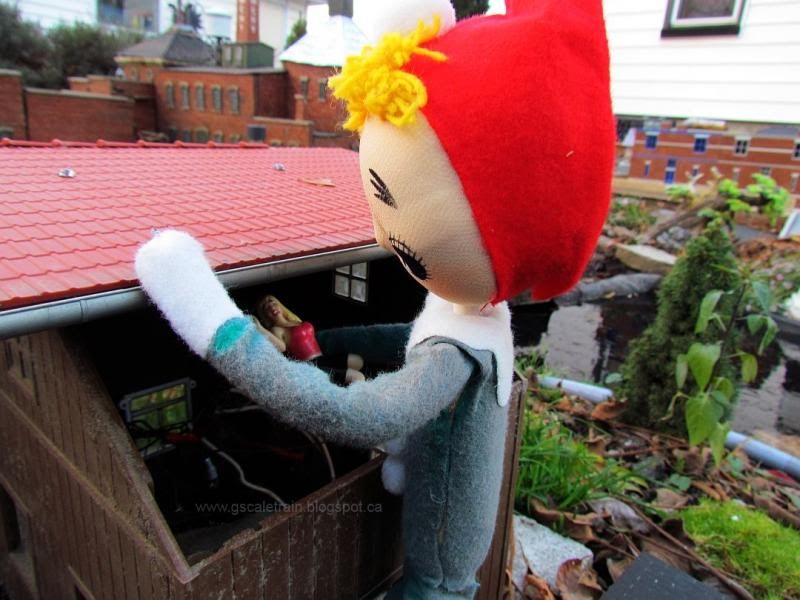
He decided to pick-up an old girlfriend...
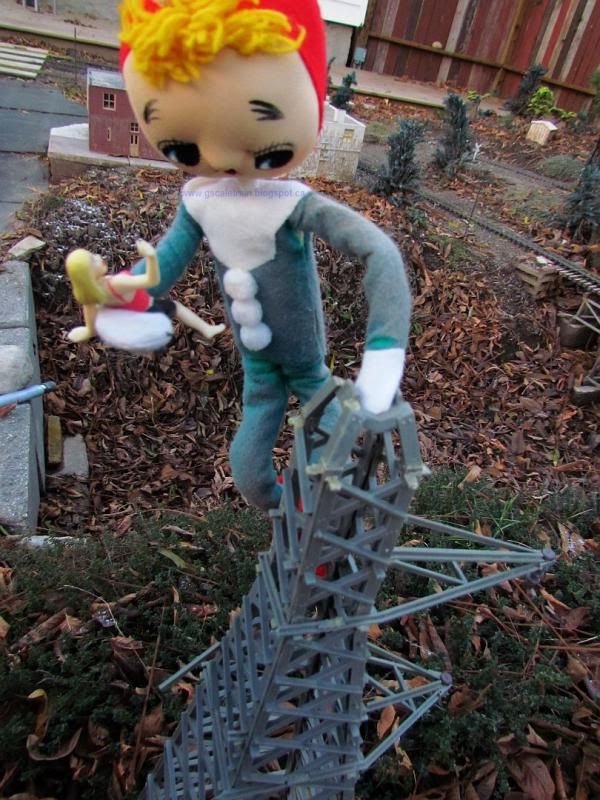
and spent the afternoon with her showing her the sight.
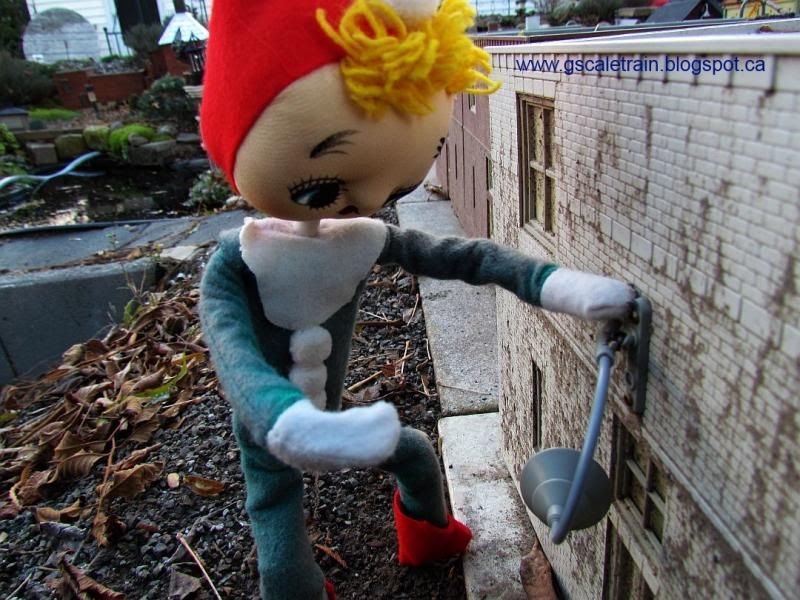
Later, he strolled down behind the community centre looking for a light.
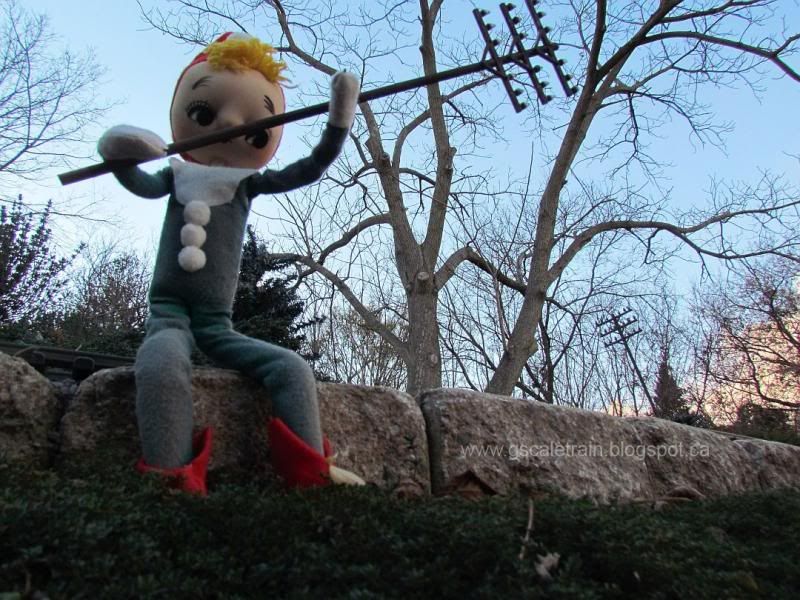
Forgetting his cellphone he grabbed a phoneline to make some calls...
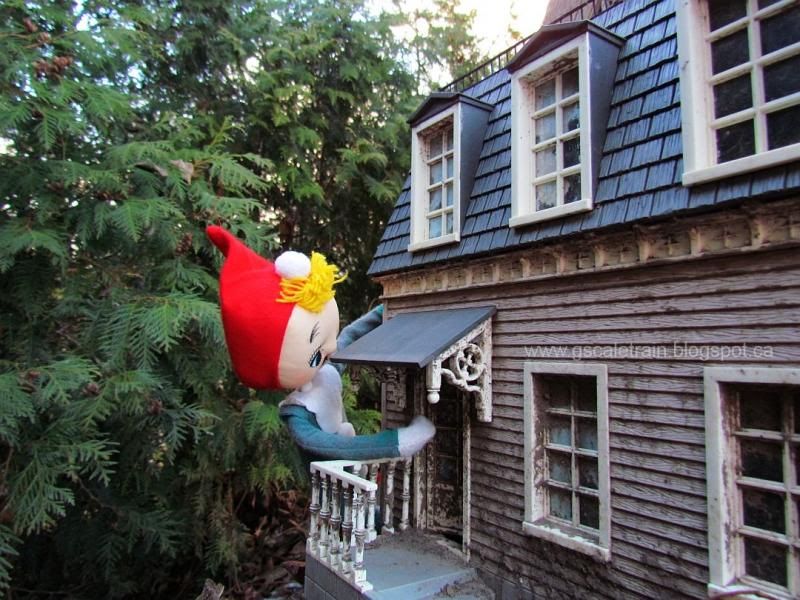
and decided to pop-in to see some people...
to try to mend some old broken fences.
That night, he stopped in to grab a burger...
and was able to discover what his old friend has been up to.
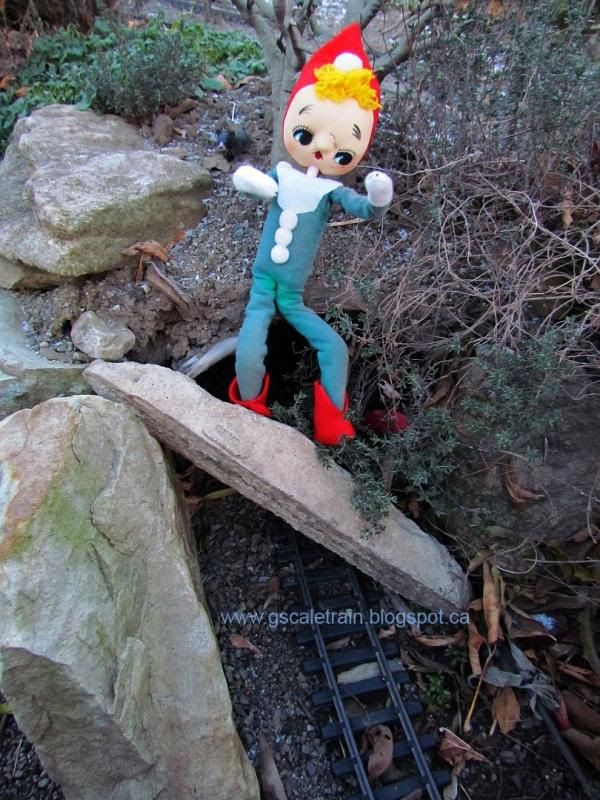
They ended up spending the rest of the evening playing 'kick-the-can' together..
but, before the night got off-track...
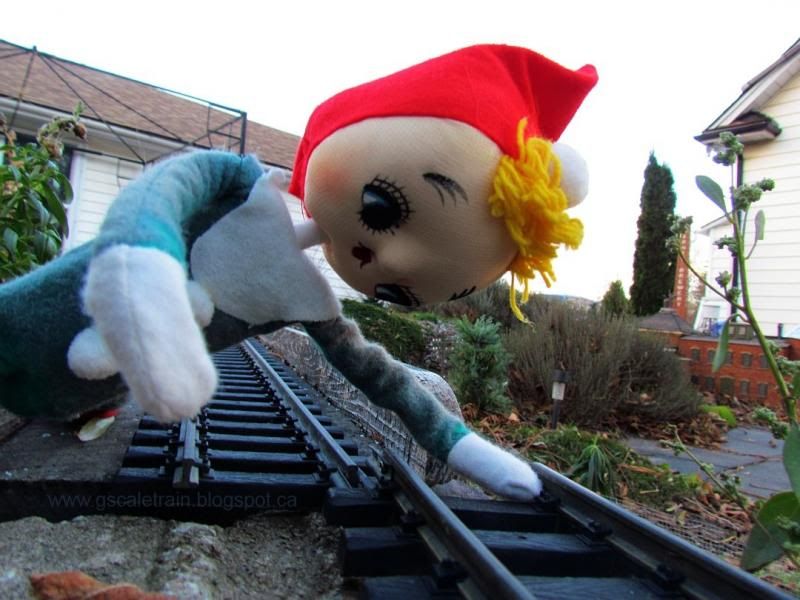
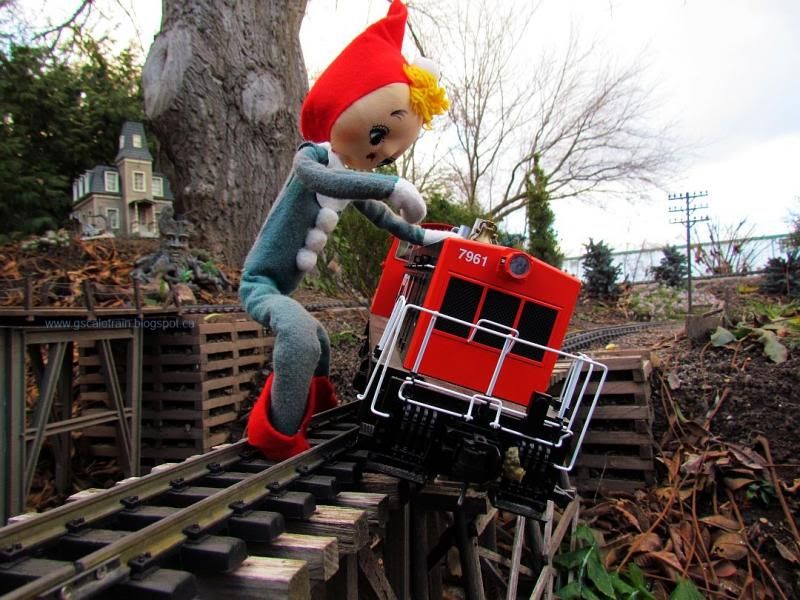
Elf knew he had to stop a train...
to grab a ride home.
Hope you enjoyed our Little Elf on the Shelf Story. We could not resist. LOL!!!
Labels:
Elf,
Elf on the Shelf,
figures,
g-scale,
g-scale garden train,
garden,
railway
Subscribe to:
Posts (Atom)