Small 'L' Channels are built just like Mid-Sized 'L'
Channels except with 'cut-down-the-middle' stir sticks. I
recommend joining them together with the 'good edge'
instead of the jagged edge where you cut them. These
are going to be 11" long and glued together staggering
the wood for strength.
Remember once the glue has dried, to sand the rough edges.
We are going to need six of these triangle joists and
there are four of the small 'L Channels in each one, so
you will need 24 of the little pieces.
After the glue has dried we are going to electrical tape
the tongue depressors between two channels. Make sure the
large flange is resting on the tongue depressor.
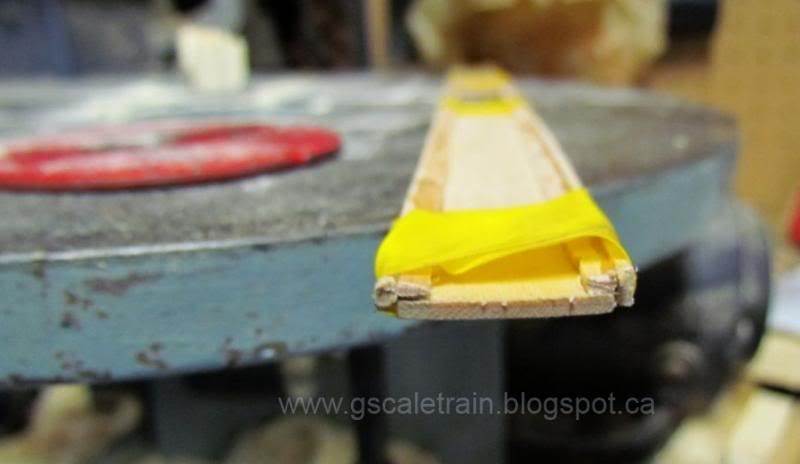
Start in the center and mark outwards at 1 1/2"
intervals on one side. The other side start 3/4" from
center and mark at 1 1/2" intervals.
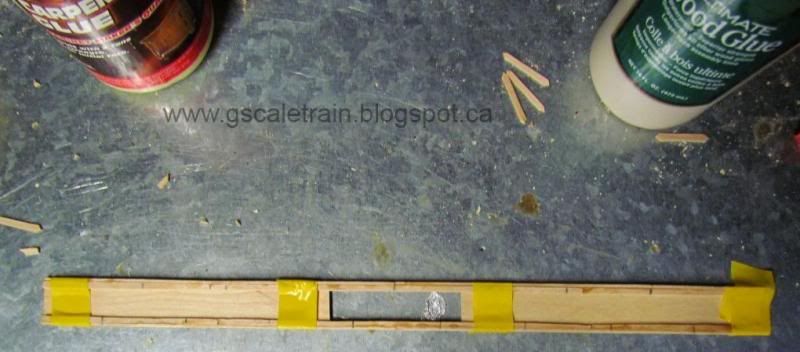
Using stir sticks that have been split-down-the-middle, mark
every inch by starting a little bit from each end.
Using scissors cut diagonally (45 degrees) at 1 inch
marks moving the same direction. Cut off the sharp ends
at 45 degrees in the opposite direction.
After we have a bunch cut, we are going glue the ends on
either side of the 1 1/2" marks on the 'L' channels in a
a zig-zag pattern. With the wet glue you can maneuver
the stick so they line-up nicely together.
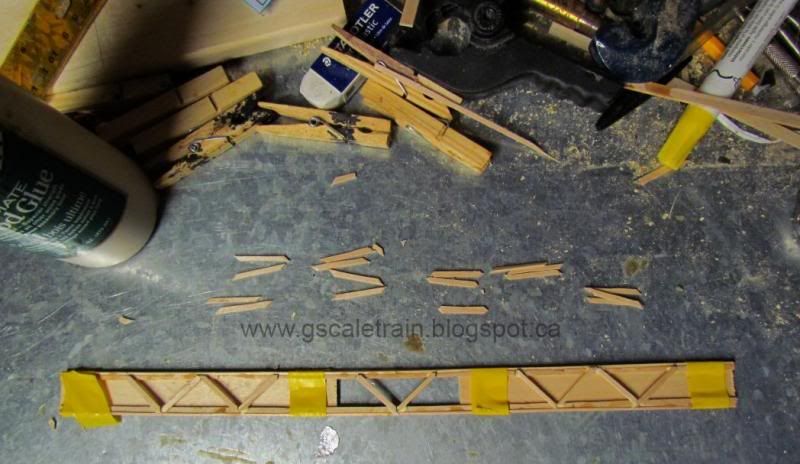
Obviously, you cannot glue where the tape is holding
everything together, but once that glue dries you can
remove the tape, tongue depressors and glue the rest of the zig-zag pieces.
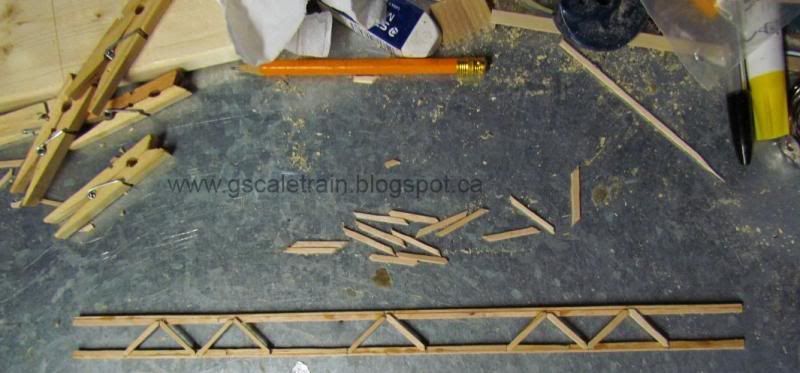
Adding drops of glue at the ends of the zig-zag, we are
going to place the remaining two 'L' channels. Re-using
the tongue depressors and some fresh electrical tape we
are going to bind everything back together again.
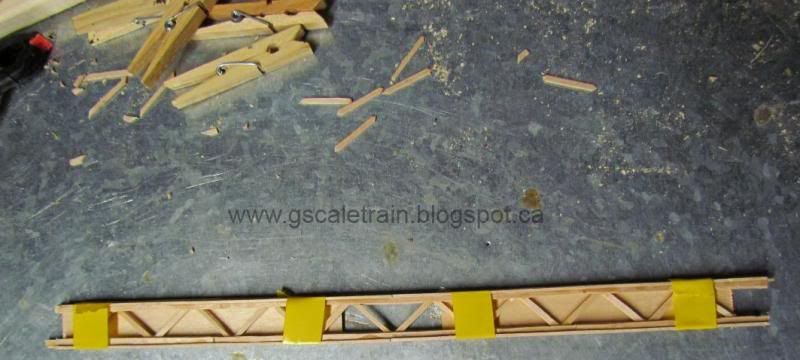
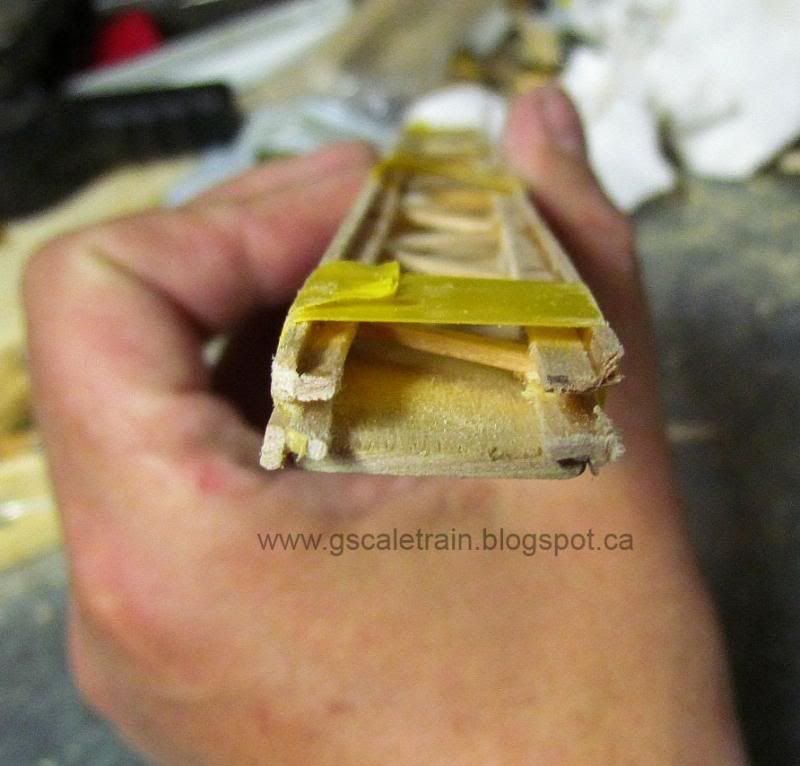
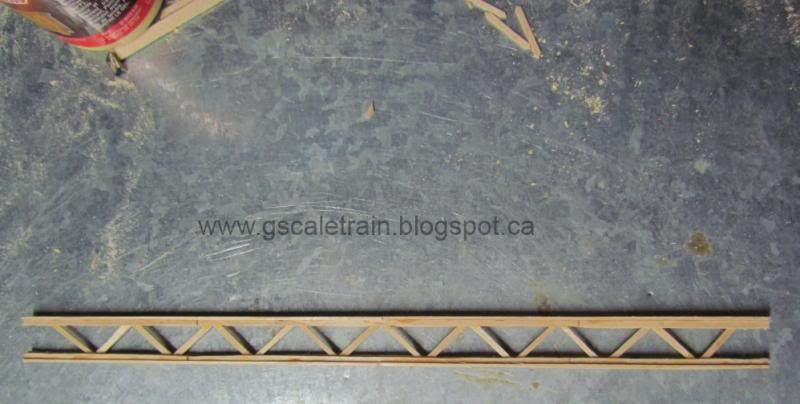
After the glue dries, hopefully your pieces will look like
this. Do not forget to sand the rough edges where some
of the zig-zags might stick out.
Next Bridge Blog we are going to talk about the 'H'
Beams for the walkway and railings.
CLICK HERE TO GO TO PART 7
CLICK HERE TO SEE THE FINISHED BRIDGE
CLICK HERE TO GO BACK TO PART 5 ON HOW TO BUILD A G-SCALE POPSICLE STICK BRIDGE
WE WANT TO HEAR FROM YOU!!!
PLEASE COME JOIN US ON OUR FACEBOOK GROUP - We would love to hear if you are building a bridge, see any photos and answer any questions. CLICK HERE
No comments:
Post a Comment