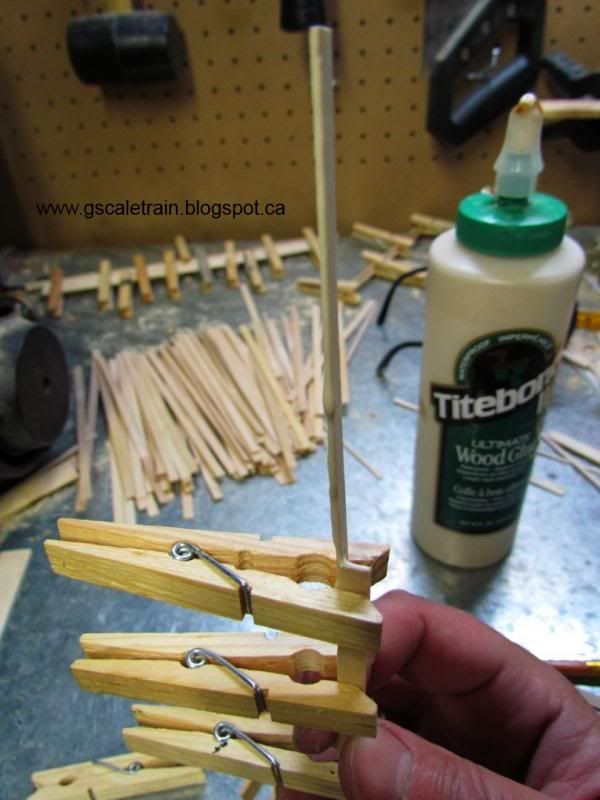
Cradle the seam in the center of the circular indentation of the clothes pegs finding that 'sweet spot' that holds the sticks together at a 90 degree angle.
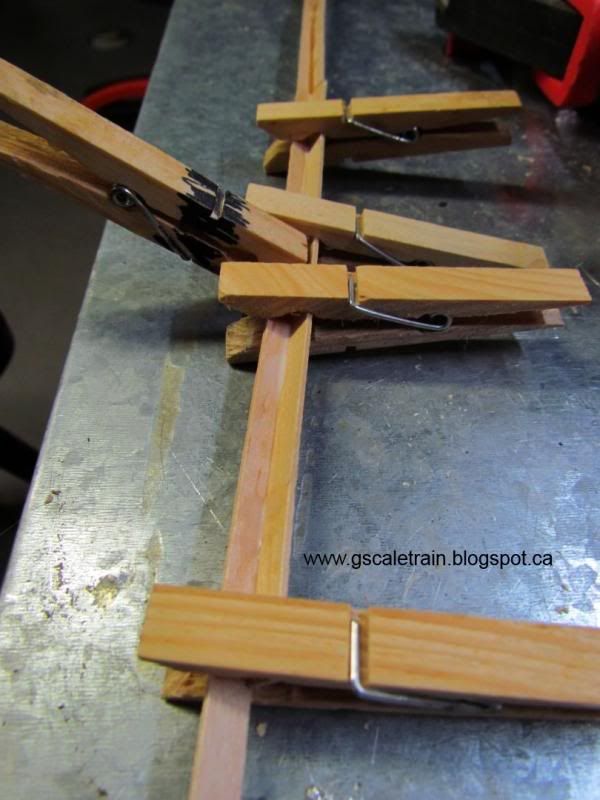
Staggering the sticks using half-length sticks at the end to finish the 13" length.
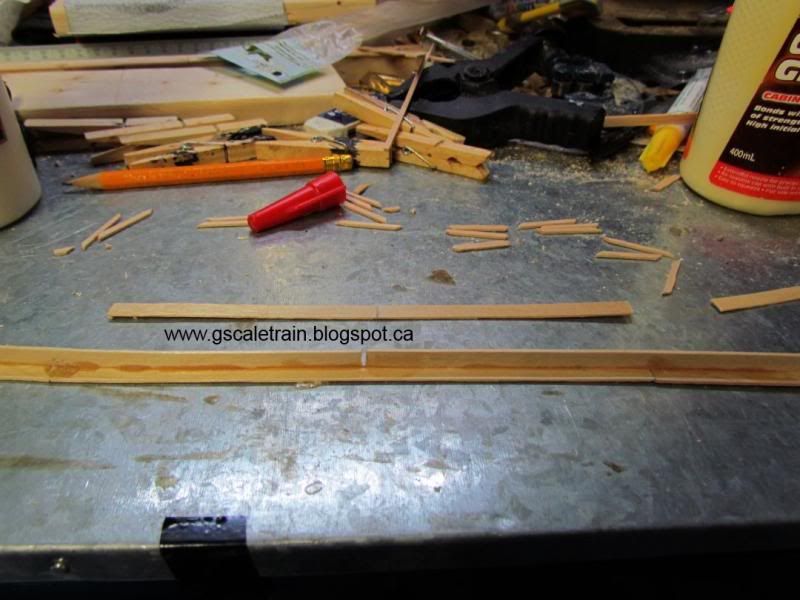
After first 'L' Channel has dried, glue at the center a stir stick in the center of the gap we left before.
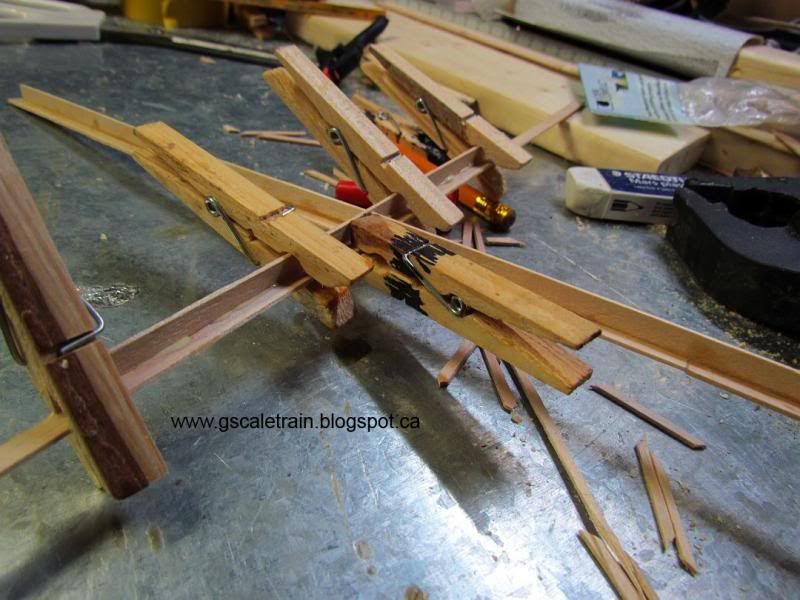
Build another 'L' Channel at a 90 degree angle to the first picture staggering the sticks and using lot of clothes pegs to hold it together until the glue dries.
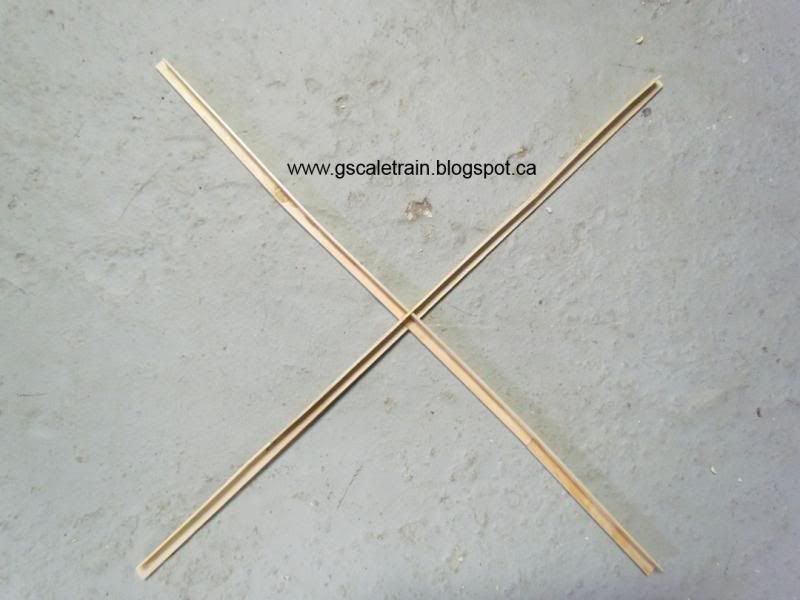
Draw a 45 degree cut line along one edge and cut extra/uneven material off with a hand saw or jigsaw.
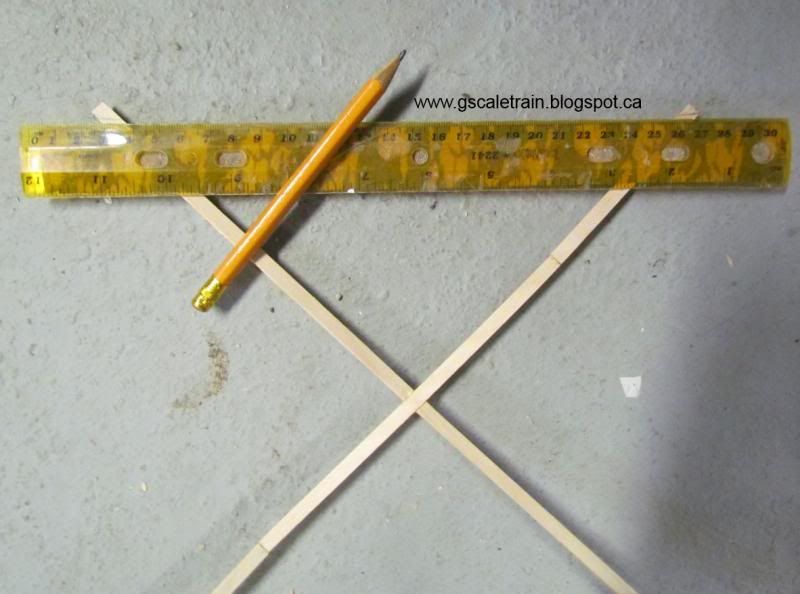
Measure the 9" distance between each end of the 'I' Beams on the previously built base structure. You will find each dimension is different. Custom cut each cross brace to fit perfectly inside each of the "I" beams.
Glue a 3/4" length of stir stick to the bottom of the 'L' channels to create a base plate. This creates additional joining surface to glue the cross braces to the 'I' Beams.
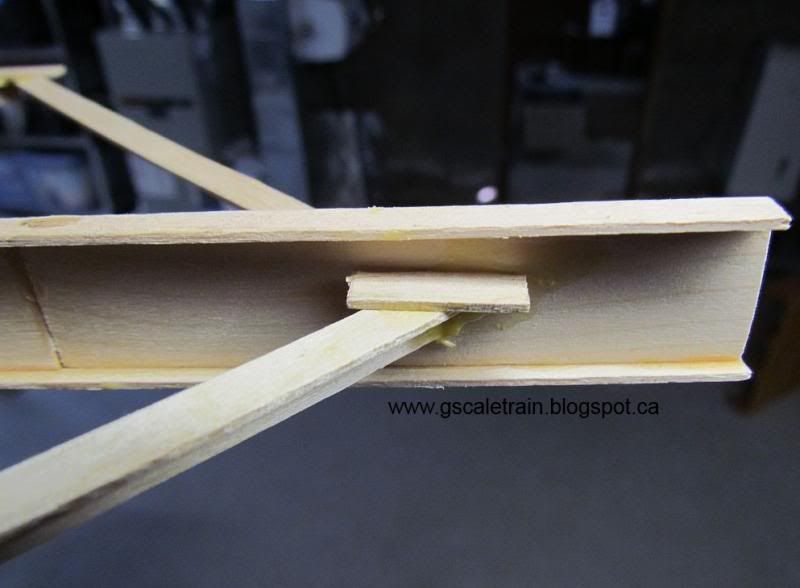
The cross bracing should attach about 1" from the ends of the 'I' Beams.
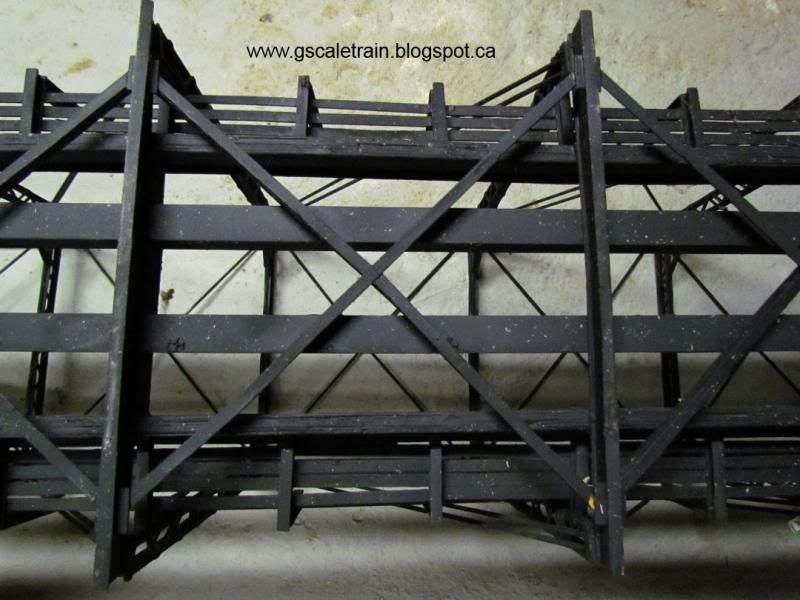
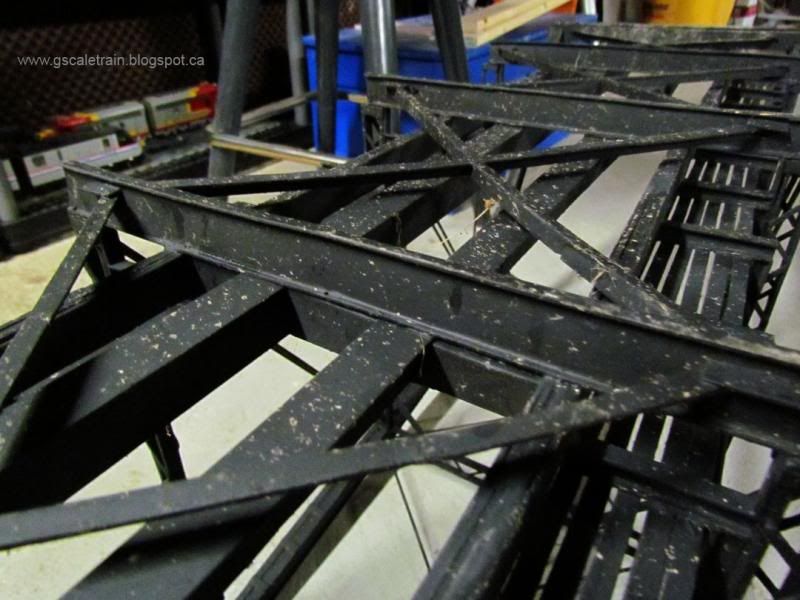
That concludes the construction of the base structure.
Next Bridge Blog we are going to talk about 'C' Channels & Stitch Columns.
CLICK HERE TO GO TO THE NEXT ENTRY on HOW TO BUILD A POPSICLE STICK BRIDGE - Part 5
CLICK HERE TO GO TO THE PREVIOUS "How to Build a Popsicle Stick G-Scale Train Bridge - PART 3 - Sandwich Beams
CLICK HERE TO SEE THE END RESULT of The Popsicle Stick G-Scale Train Bridge
No comments:
Post a Comment