Blog entry by Bob
Taking the two sandwich beams we made last time and the triangle joist we made a couple of weeks ago, we are going to attach them together. The triangle joist are going to connect at the same points as the stitch columns. Lining the triangle joist up we are going to mark the top and bottom were it touches the side of the sandwich beam.
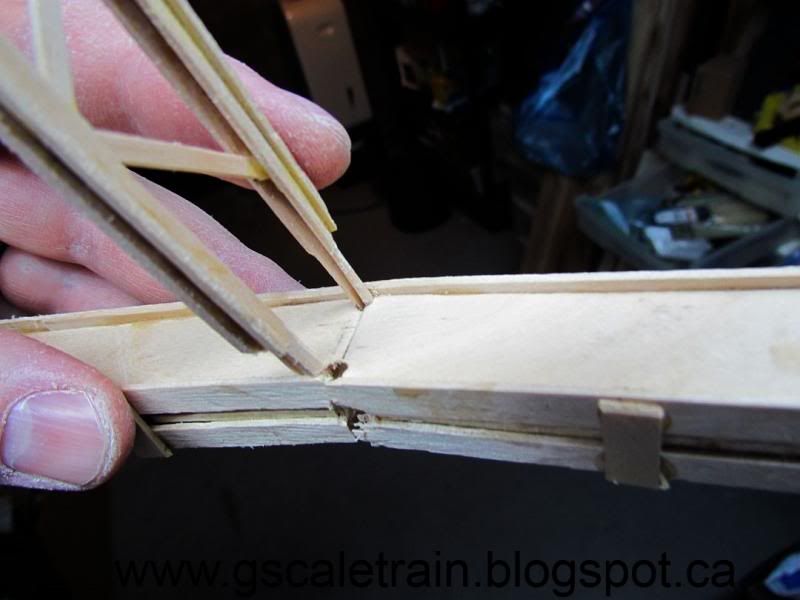
Using a 1/8" drill we are going to drill into the sandwich beam above the bottom flange and below the top flange. The first thing you might notice is that we placed too many triangles into the triangle joist. Using a pair of pliers rip out the first and last zig-zag. Next we are going to have to strip a bit of the top flange of the triangle joist so it is the exact distance between the two sandwich beams (9 inches).
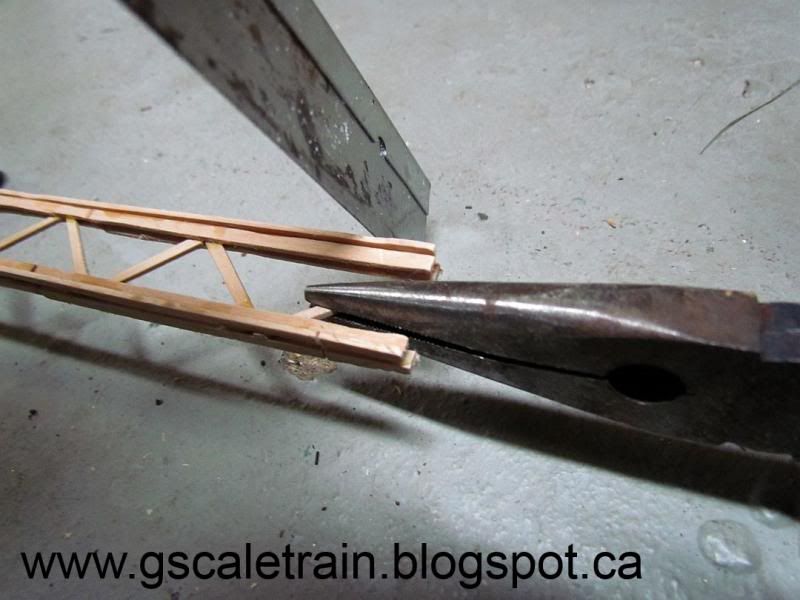
You might also have to trim the length of the triangle joist so only 3/8" is left to fit inside the holes we made on the sides of the sandwich beams. Once everything is good you can glue the triangle beams in place.
This is also a good time to create entrance beams across the ends of your bridge. I used some half stir-stick "L" beams in a simple design. You have to be aware of the height of your tallest locomotive or rolling stock piece so they can clear the end structures.
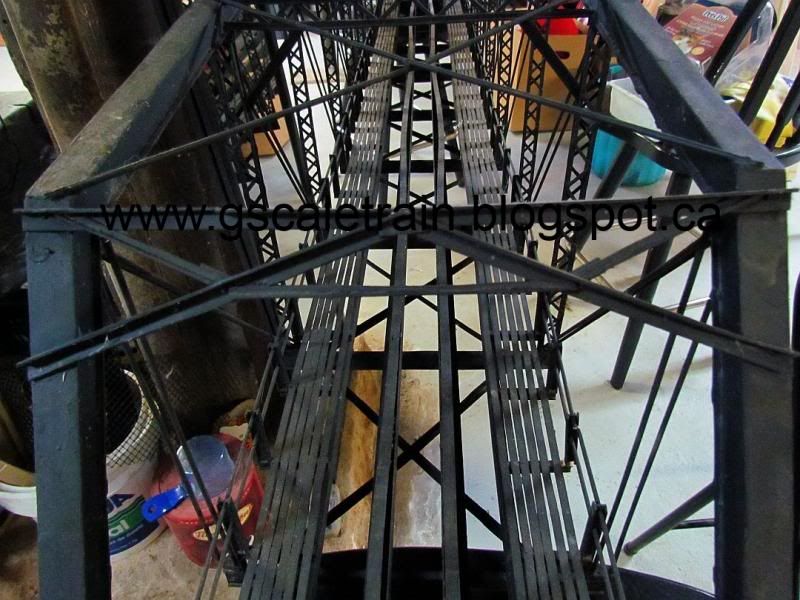
Next we are going to make to bbq stick dowel vertical supports for the second last cross beams (where the top beam has the 45 degree deflection). We are going to cut 3/4inch pieces of stir stick. Using 2 layers 3/8" square stir sticks glued in the centre.
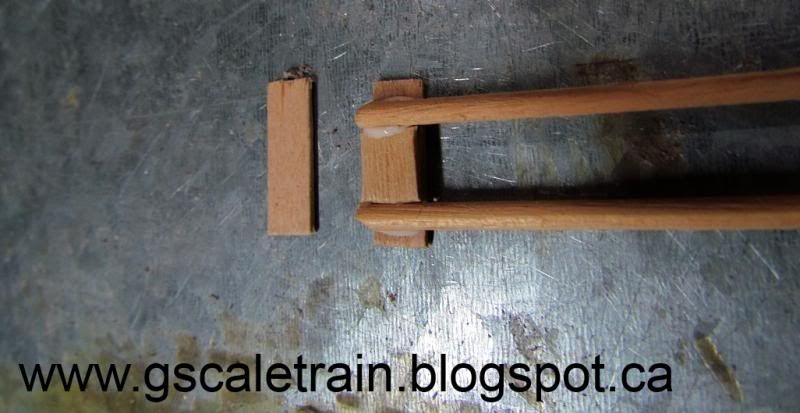
We are going to glue long bbq skewer dowels on either side of the centre on the stir stick. Just do one end to start on all 4 pieces and glue another stir stick on top of the dowels to finish it off. Placing this on the end of the bottom cross beam we are going to measure up to find where to cut the top of the dowels.
Next we are going to build the top cross bracing with more bbq skewer dowels. Like the railings we made a couple of weeks ago, we are going to need the double long bbq skewers. Drill a small hole in the bottom of one skewer and glue the pointy end of another inside the hole.
We are going to have to do this 14 times. Once everything has dried we are going to lay 2 sets of double long skewers at 45 degrees from one end of a triangle joist to the other end of another.
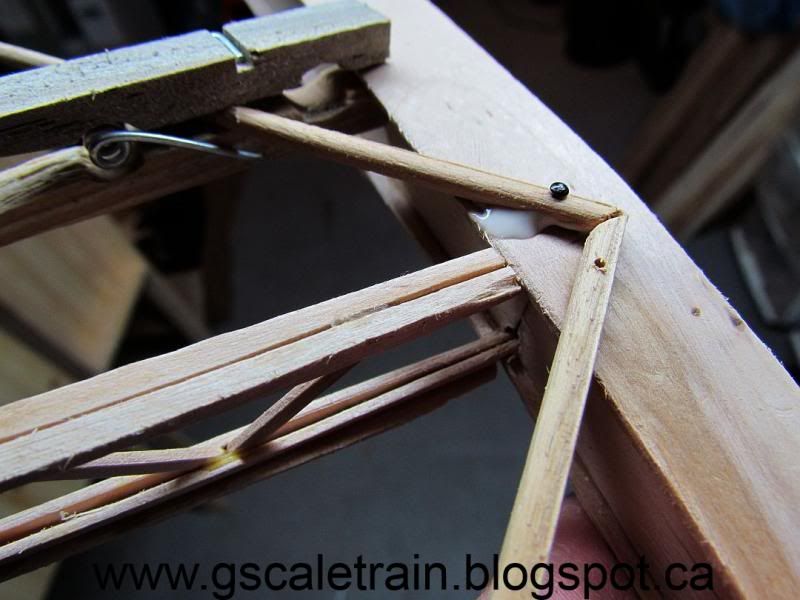
Trim the sticks so they rest solidly on the top flange of the sandwich beams. Using a precision hand drill make tiny holes so HO nails can be hammered in without splitting the bbq skewers. Use wire cutters to half some HO nails to 3/8inches.
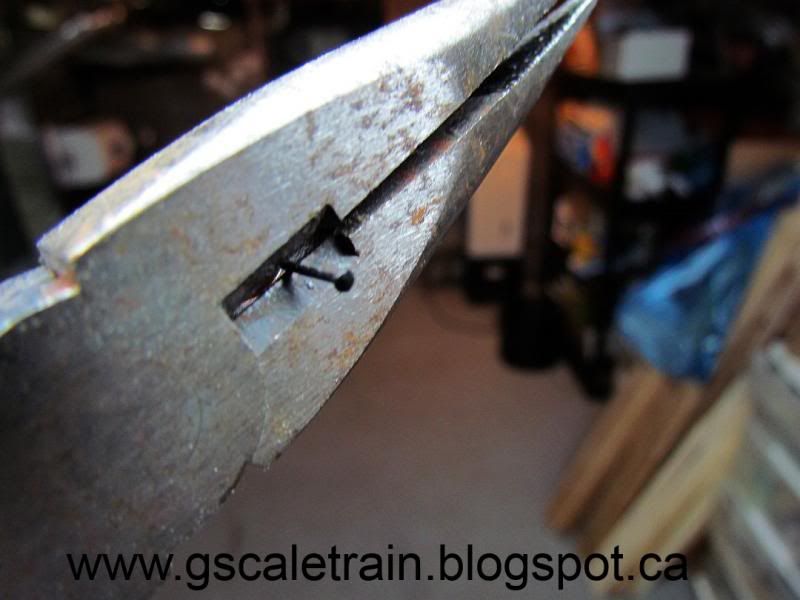
Full length HO nails will bend if you try to drive them in their full 3/4 inch length. Use a drop of glue as well to hold the dowel cross supports.
Finally attach the top sandwich beams to the bottom sandwich beams. Put glue on the stitch column dowels and inside the top sandwich beam notch. We are going to take a 2 1/2" deck screws and pre-drill the bottom on the end cross support diagonally up the centre of the 45 degree sloped end of the top beam.
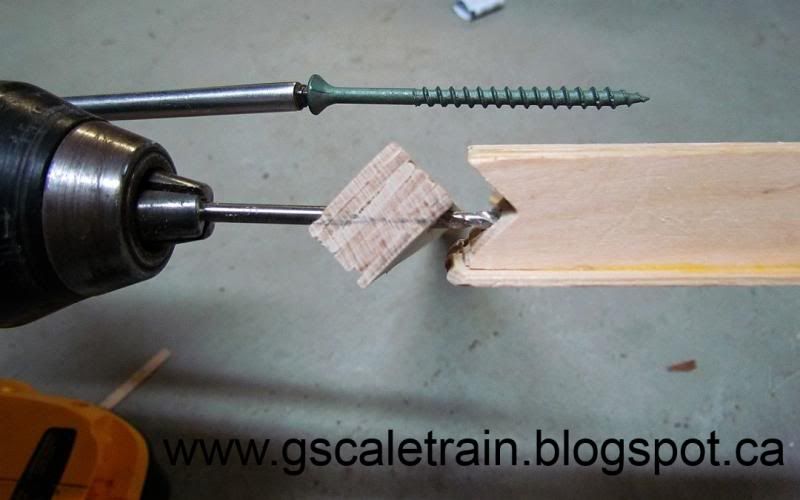
These 4 screws are going to be the final major structure element that will hold the bridge together. As I mentioned before, the 45 degree top beam needs to be a little too long so the top will be under pressure pushing down on the ends the of the bridge. You might need to add blocks of wood to achieve this.
Once everything is tight, there is just the last detail of the side cross support dowels. These are decorative and will be double long bbq skewers measured to fit, precision pre-drilled to be HO nailed in place.
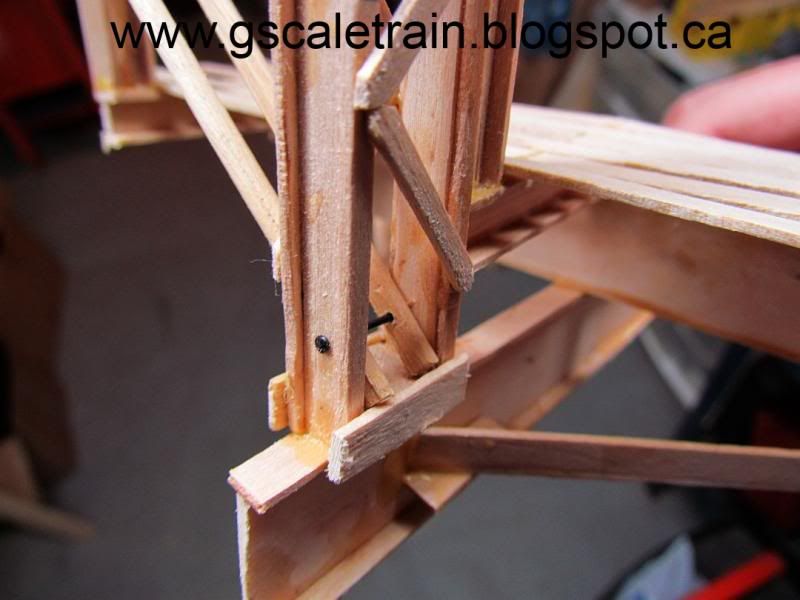
This ends the blog entries on how I made my bridge. I hope my instruction were interesting and not too confusing. I hope all the pictures I have been posting help a lot. I would like to see or know if anyone is crazy enough to try to re-create my bridge.
TO SEE THE COMPLETED BRIDGE - CLICK HERE
TO GO BACK TO PART 8 - CLICK HERE
No comments:
Post a Comment